Mounting
It’s easy to get started with your products from Noyer. In this section, we’ll show you how to mount your Magnetic knife racks, Wooden shelves, and table legs – using simple steps and tools that most people already have at home.

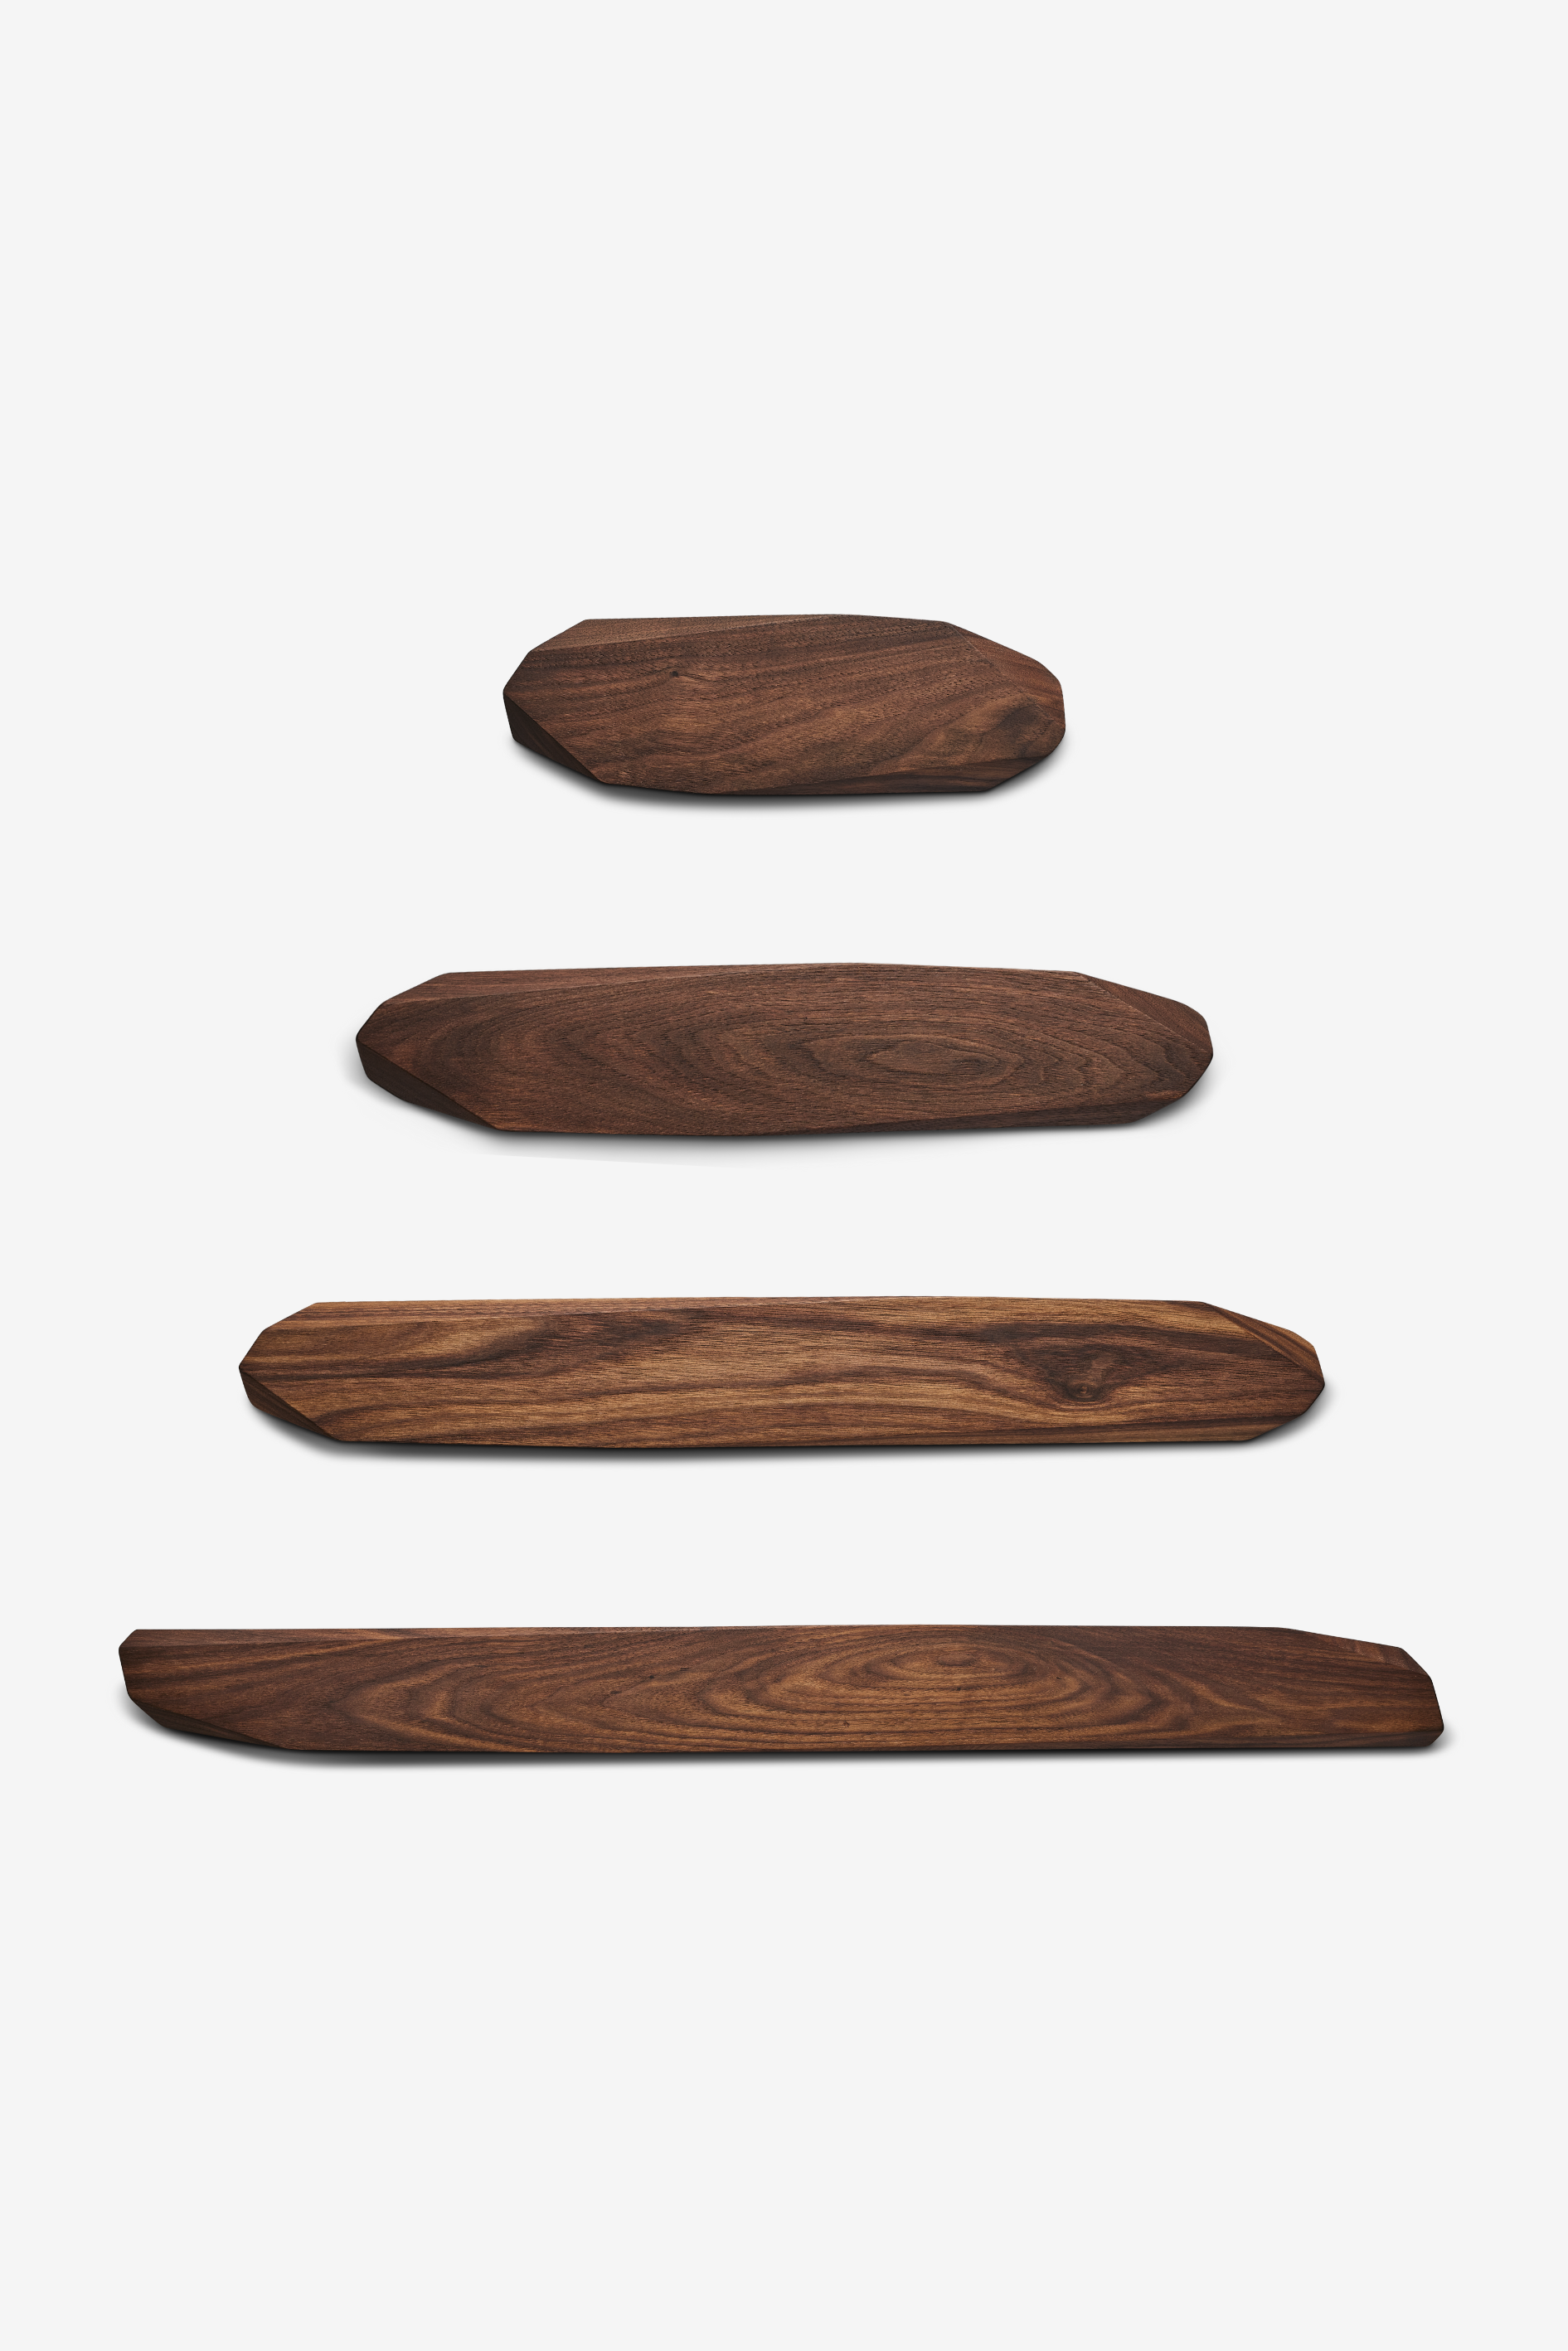
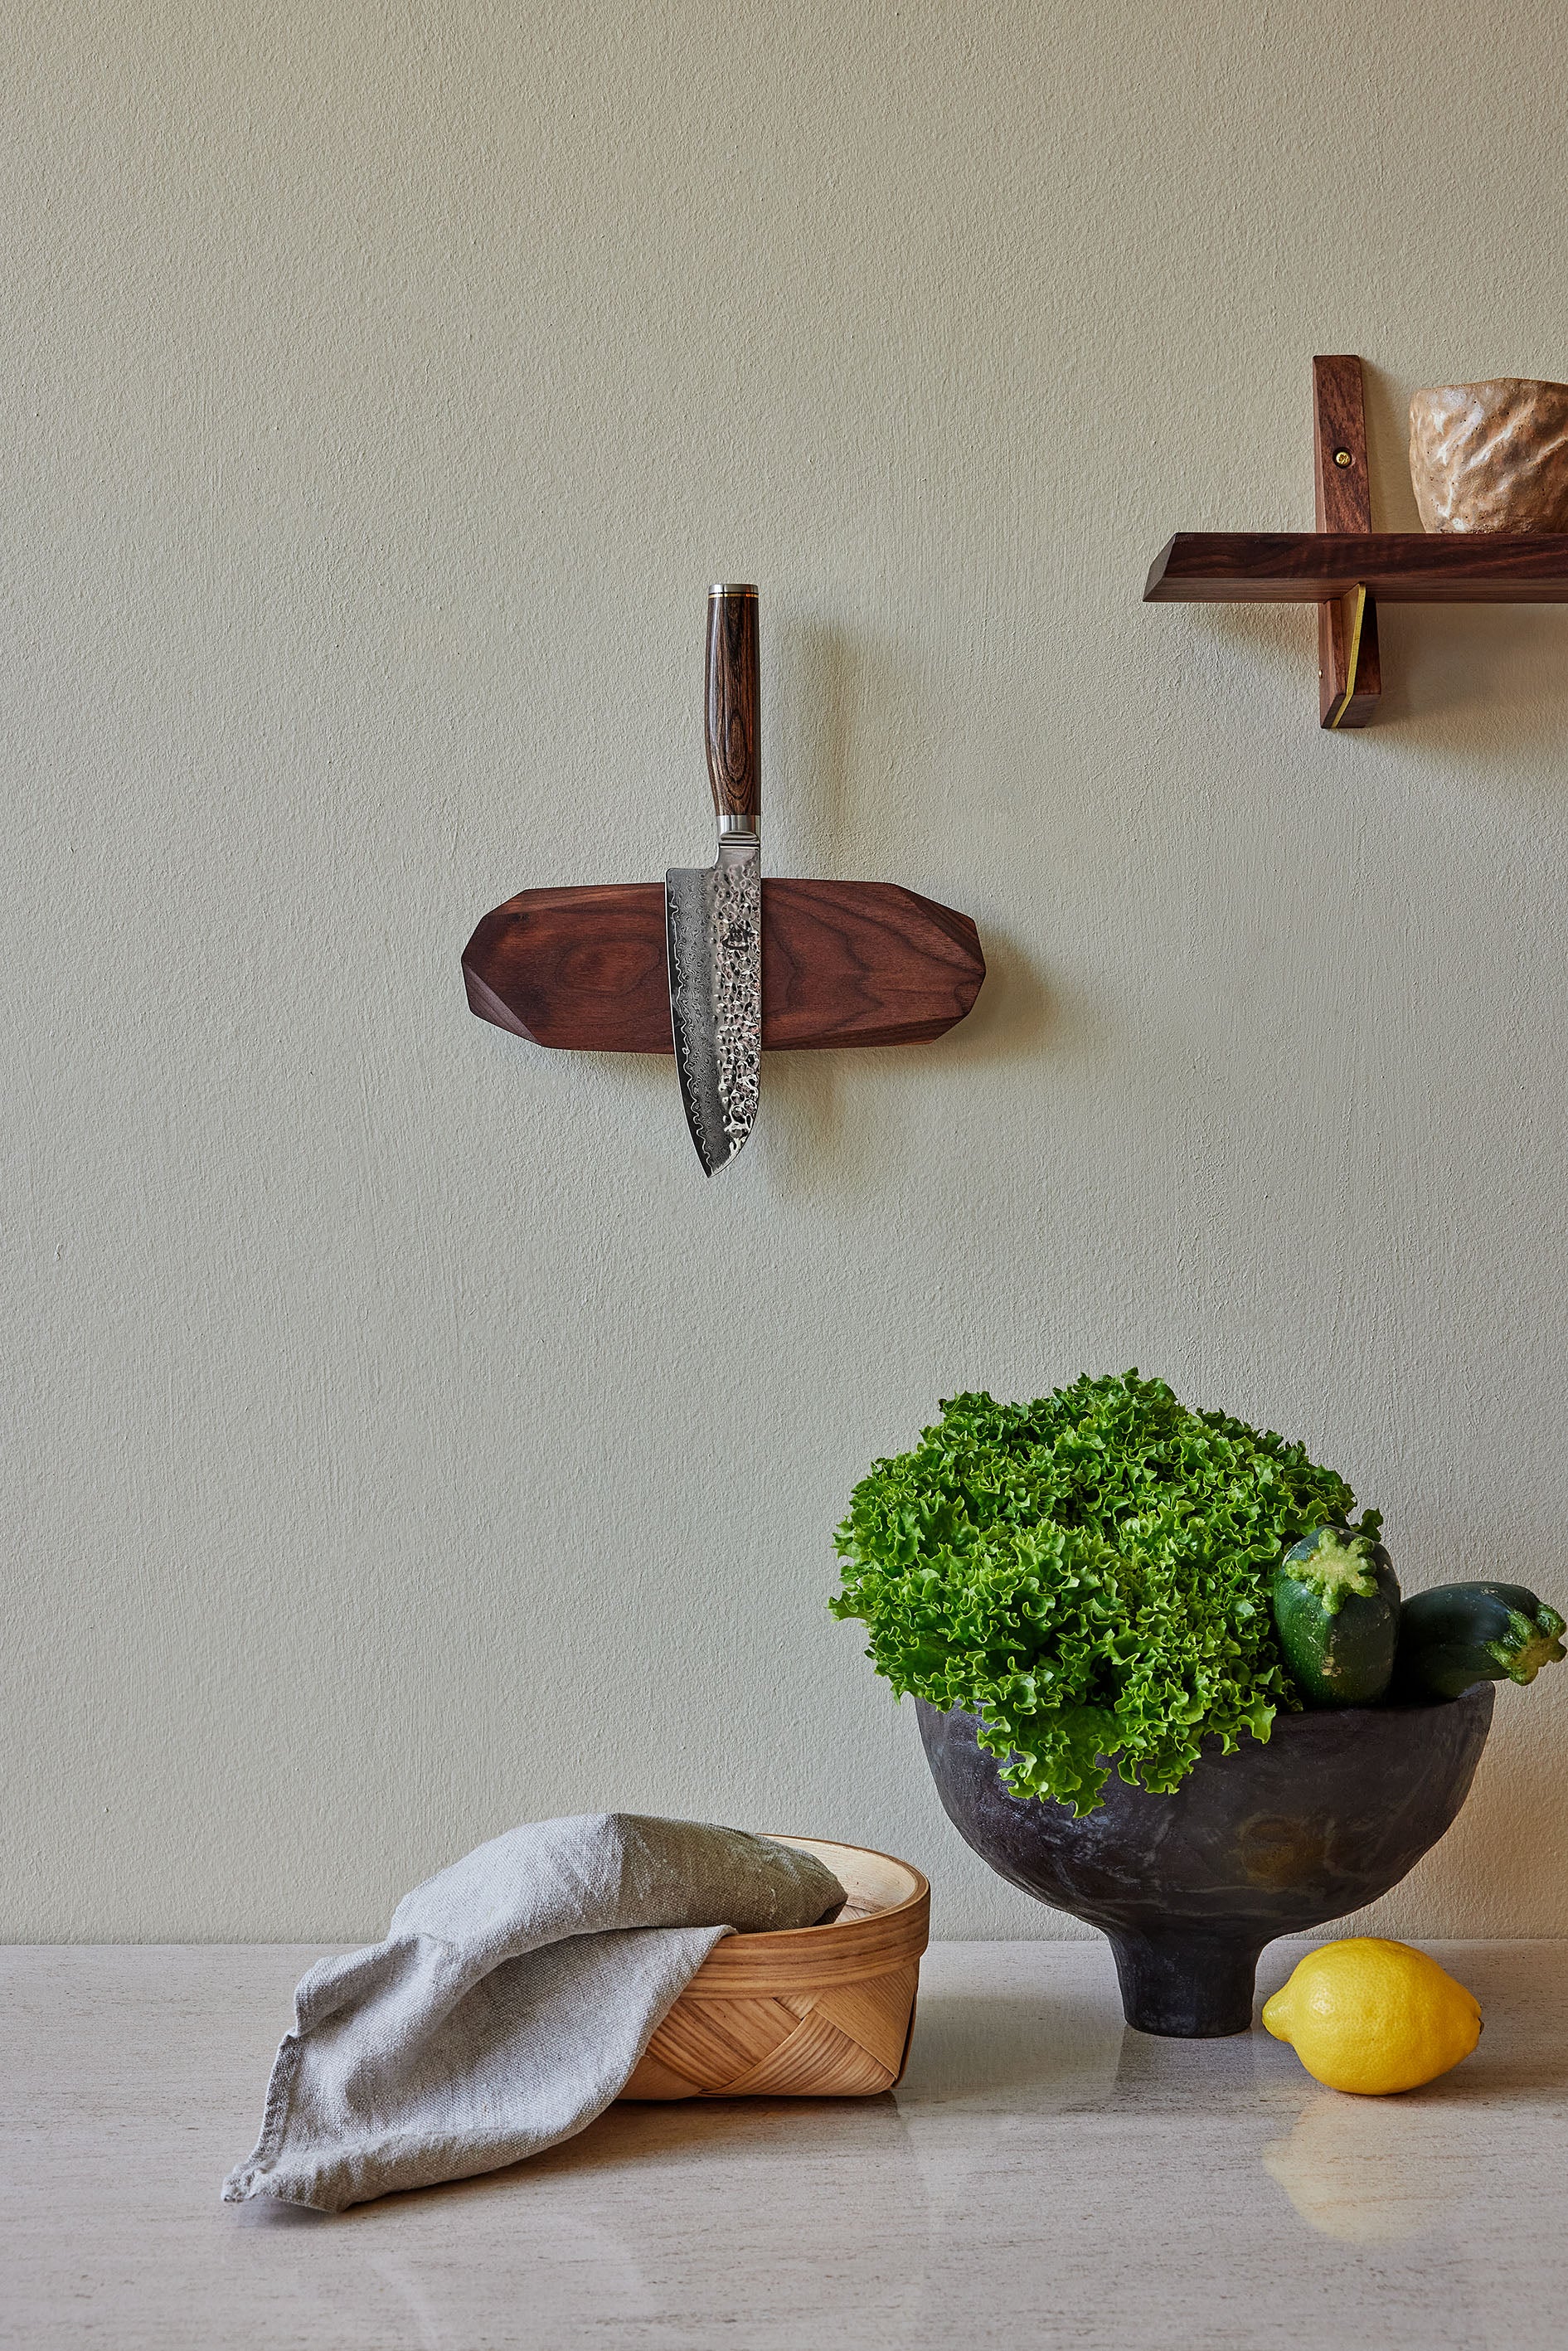
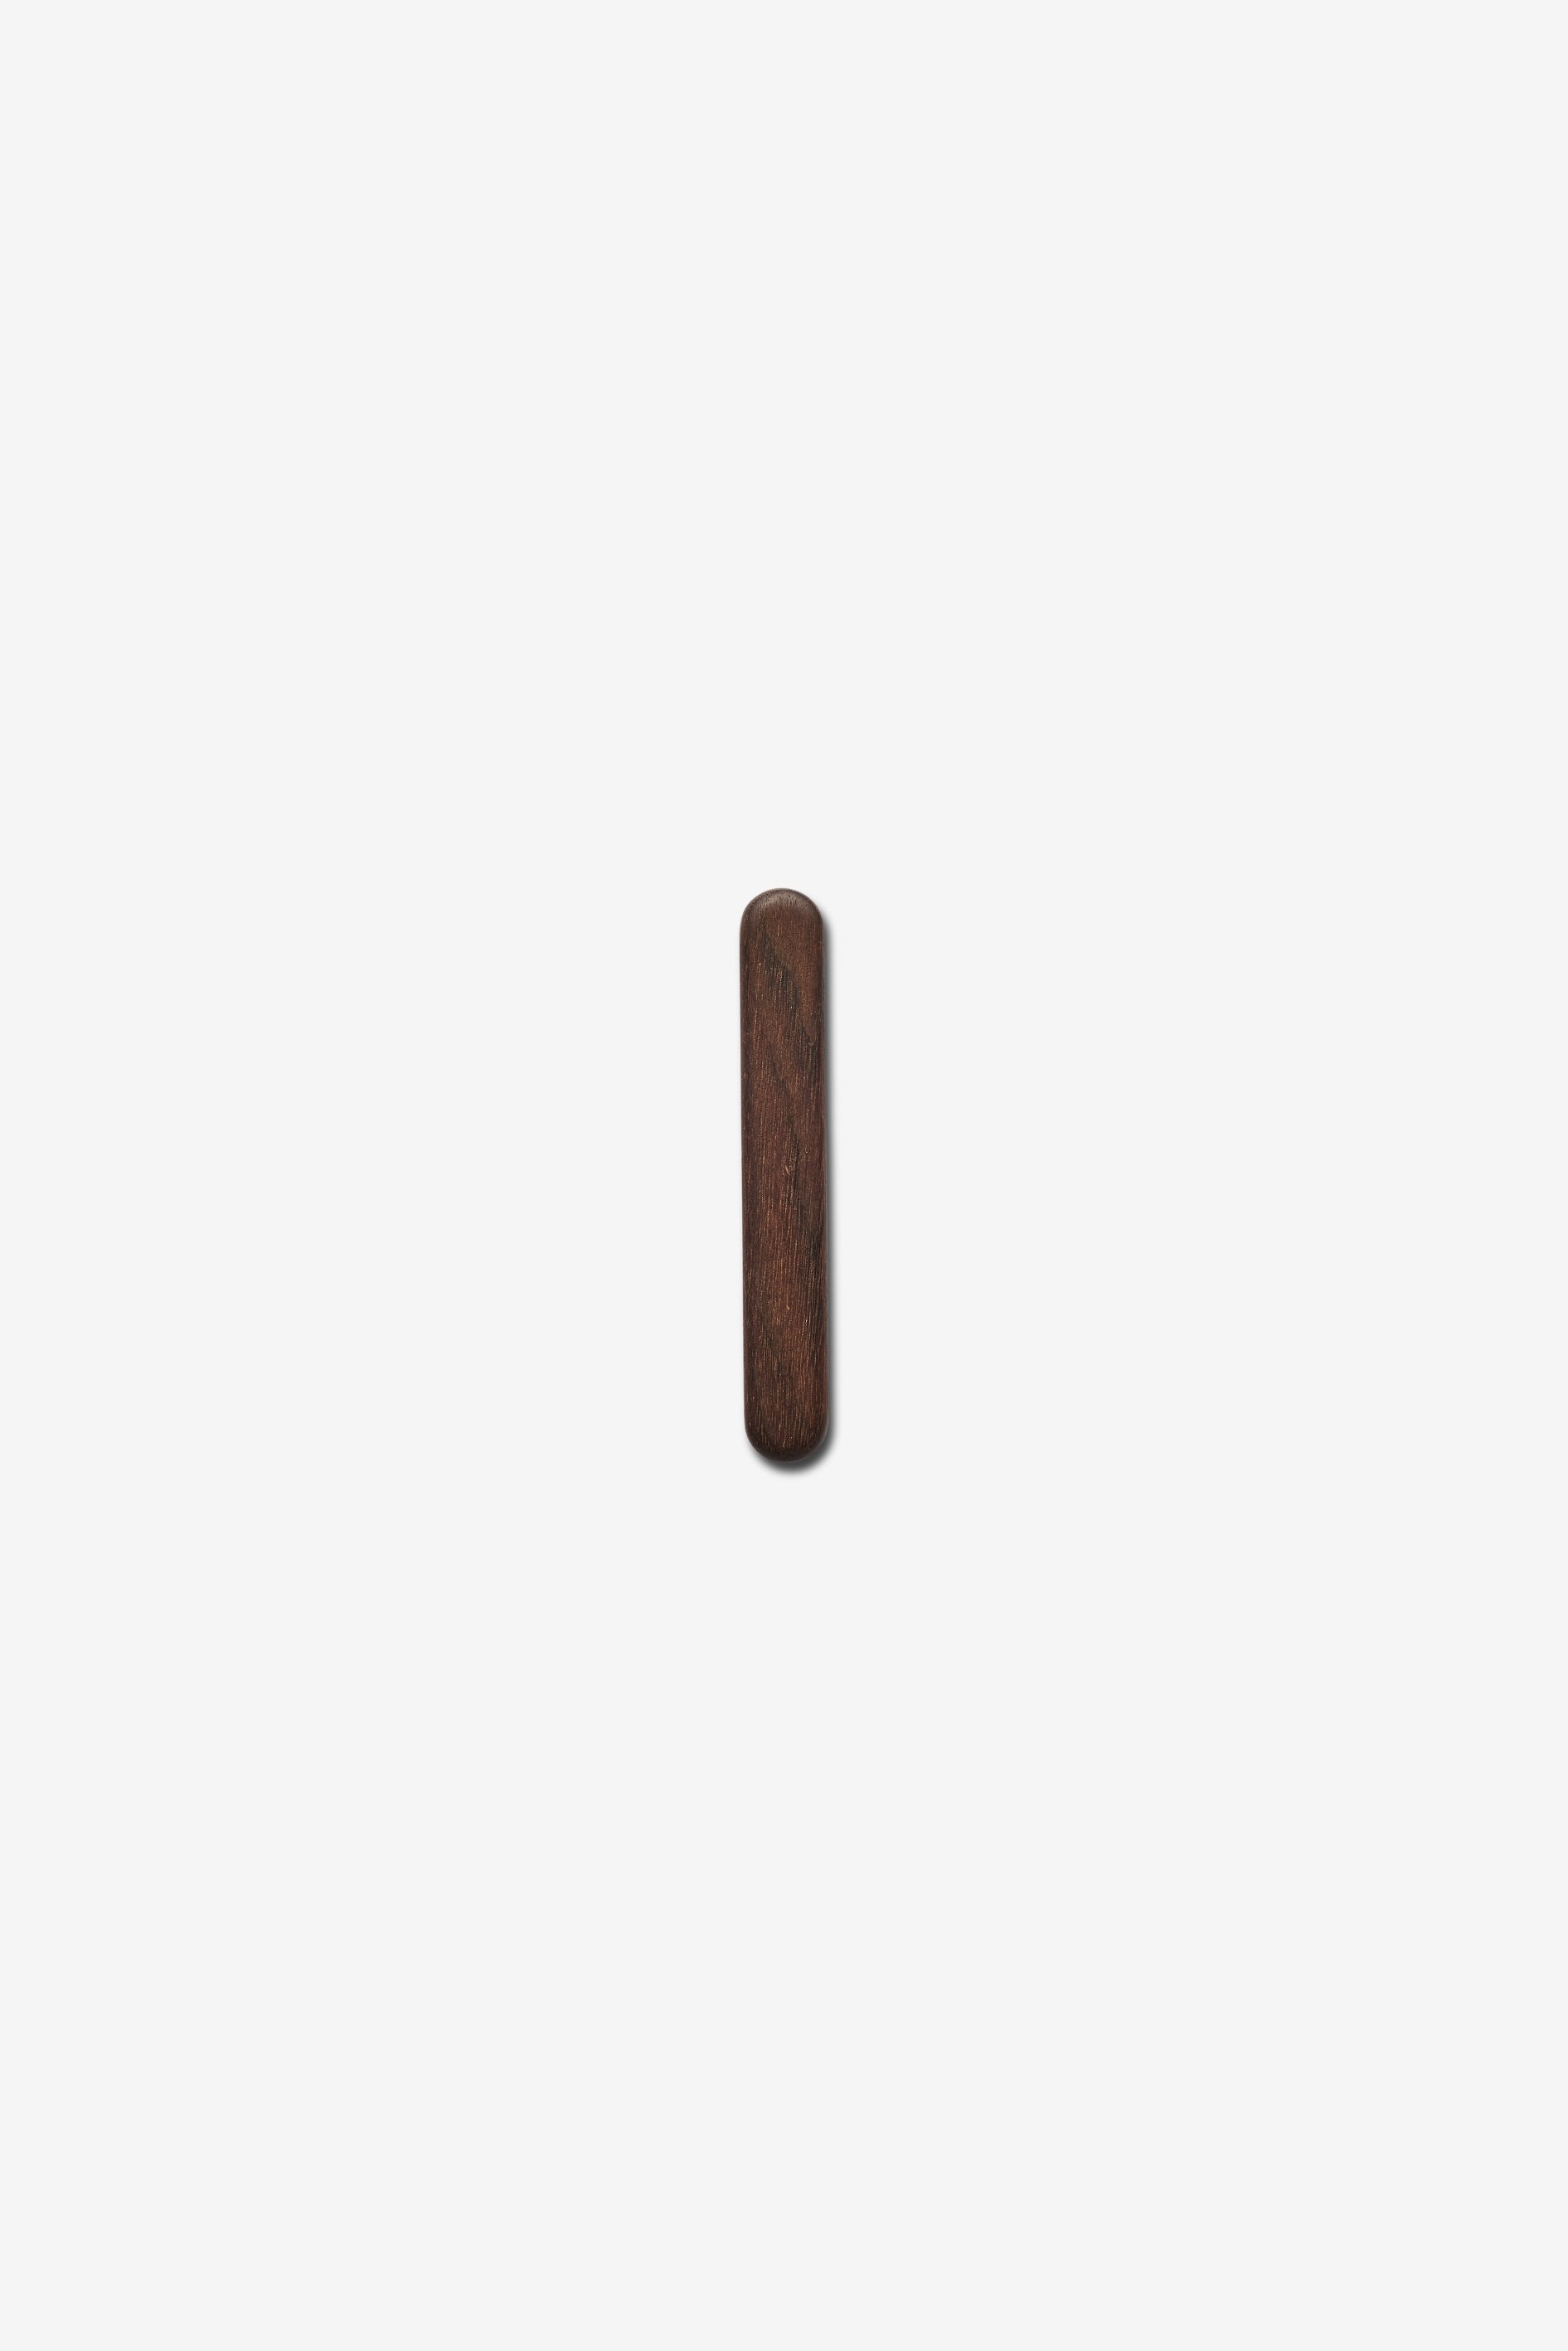
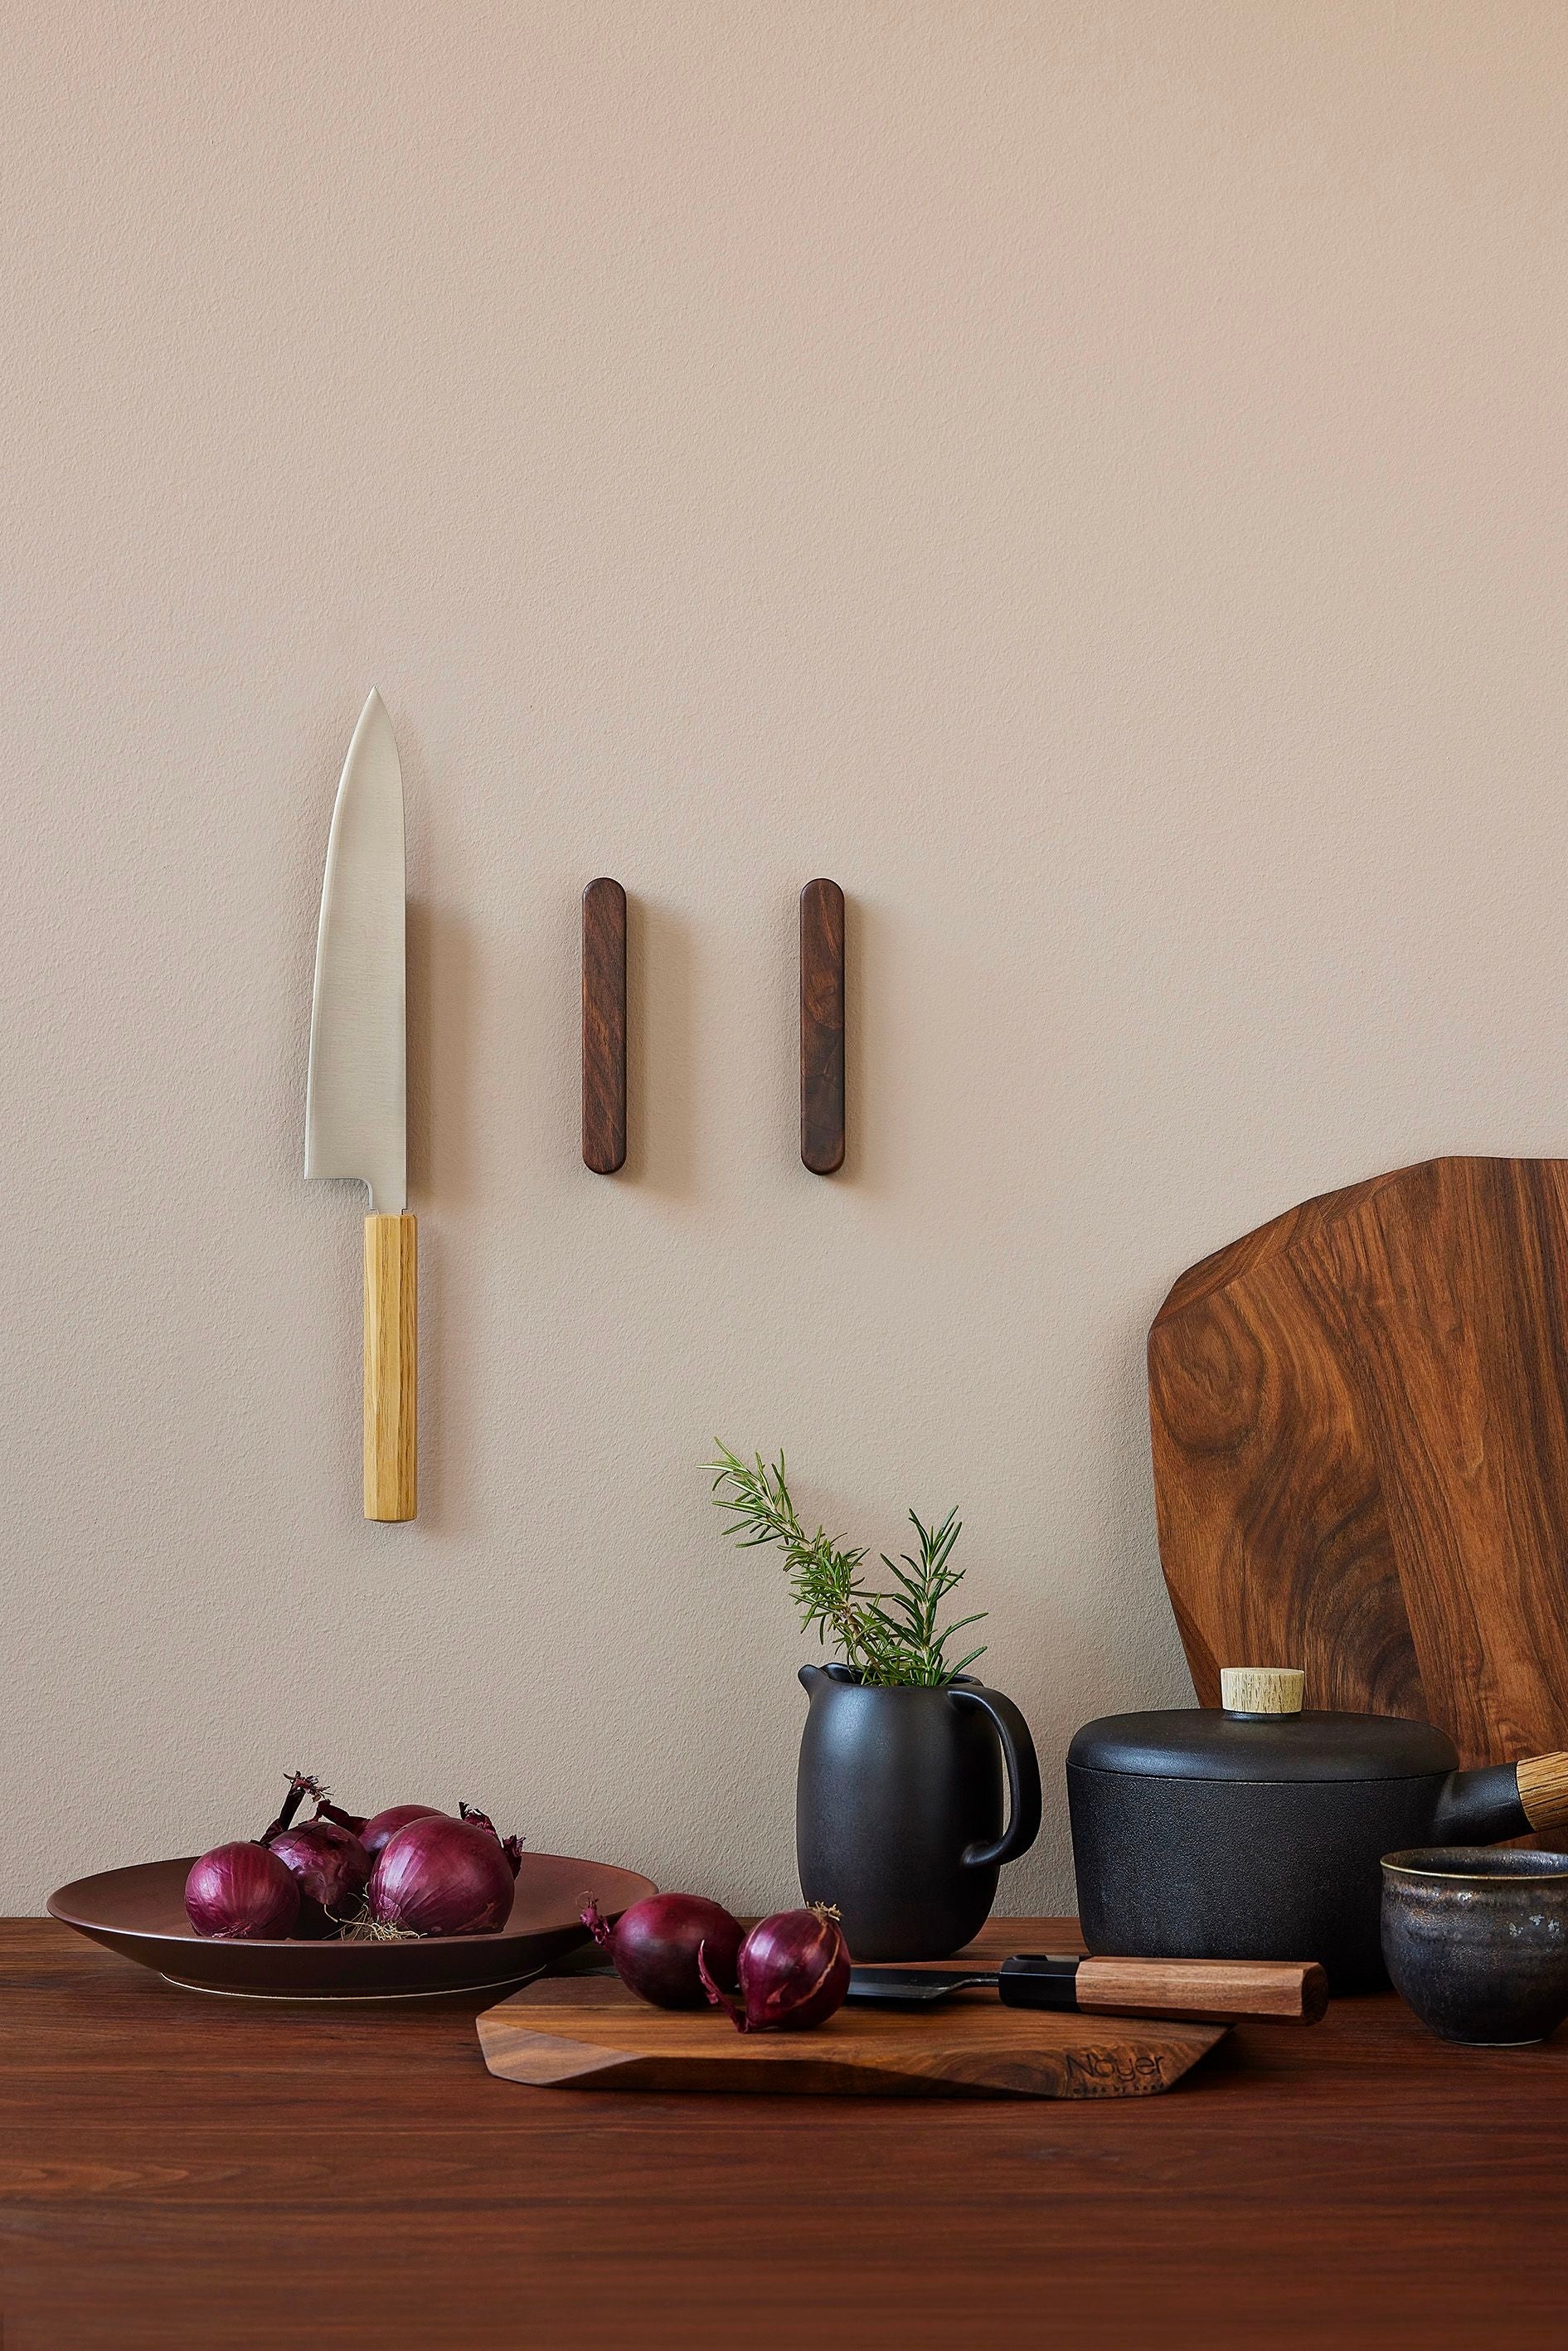
Magnetic knife racks
Mounting Magnetic knife racks
All our Magnetic knife racks are mounted the same way – regardless of size. Each comes with a bracket that fits the rack you purchased. The bracket is made of steel and clicks into place on the back of the wooden piece.
Recommended tools: Drill, screwdriver or power drill, level, and pencil.
It’s easy to mount and can be done alone.
How to do it – step by step:
- Hold the knife magnet against the wall and use a level to make sure it’s straight.
- Mark the two holes with a pencil.
- Take the magnet down and drill the two holes.
- Insert the included wall plugs into the holes (they’re suitable for brick and concrete walls).
- Fasten the bracket with the included screws.
- Click the wooden piece onto the bracket. Now your knife magnet is ready for use.
Important: Never hang wet knives, pots, or pans. Moisture can seep into the wood and cause stains or damage. Everything must be completely dry before placing it on the magnet.

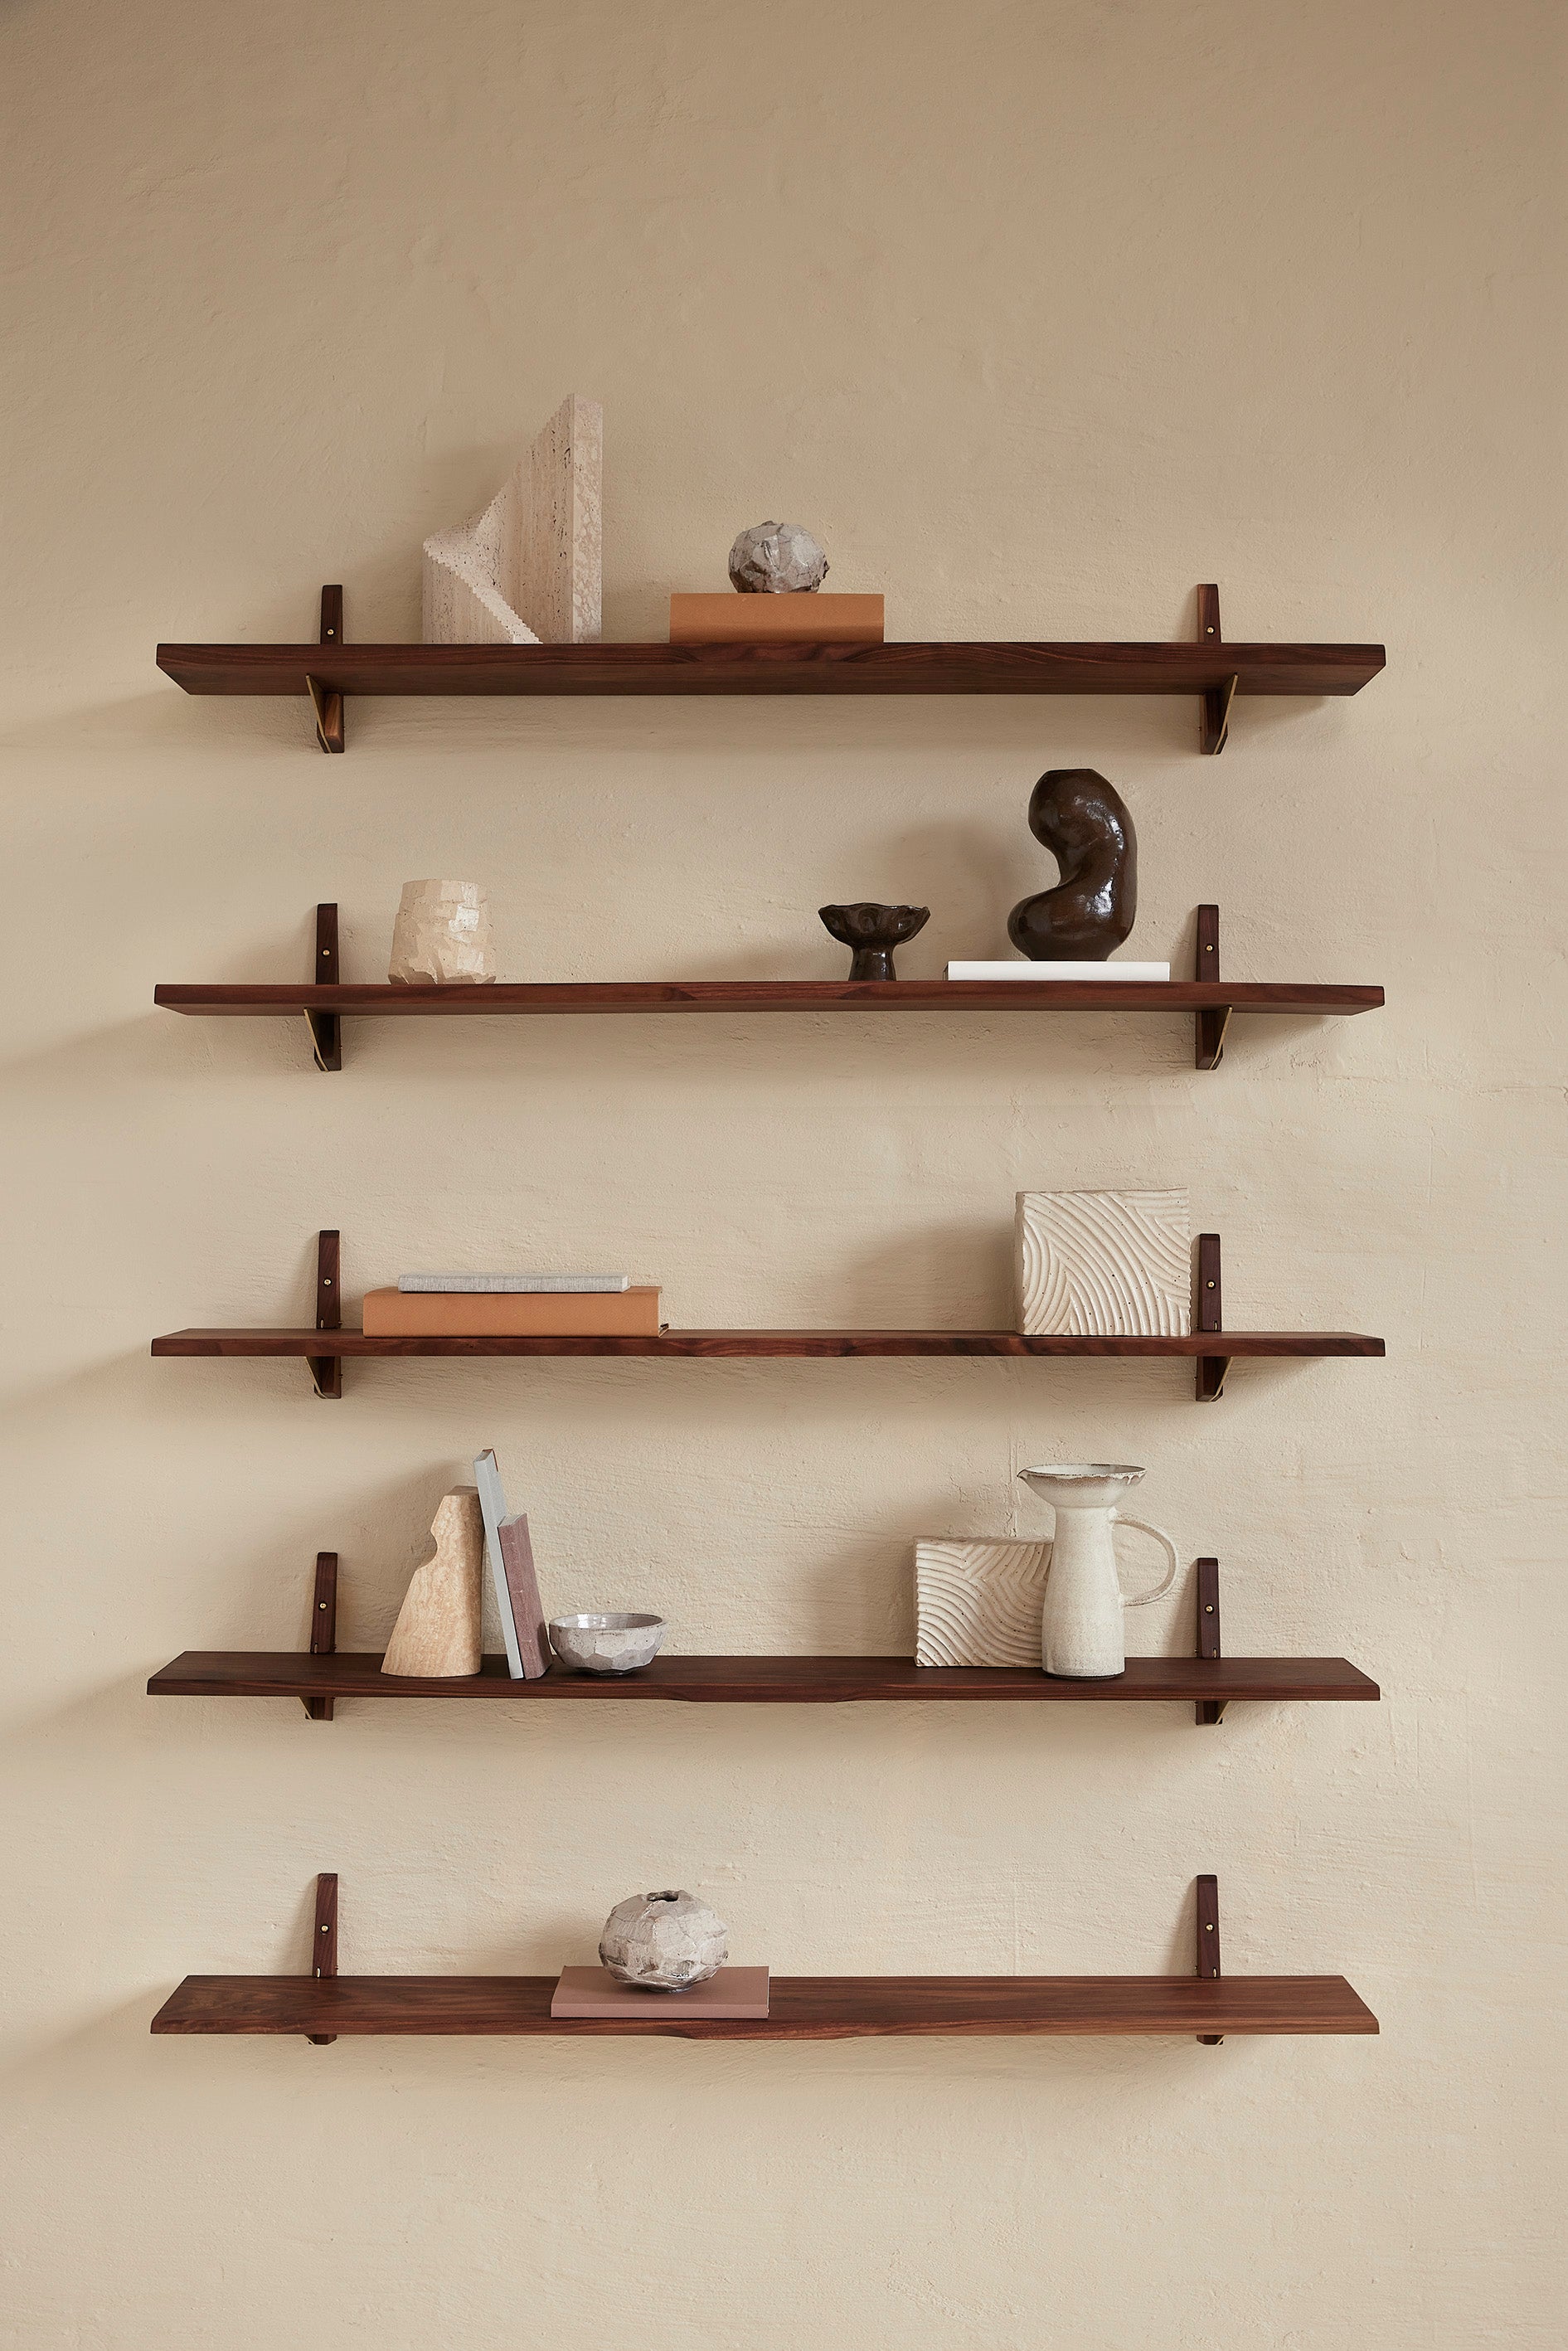
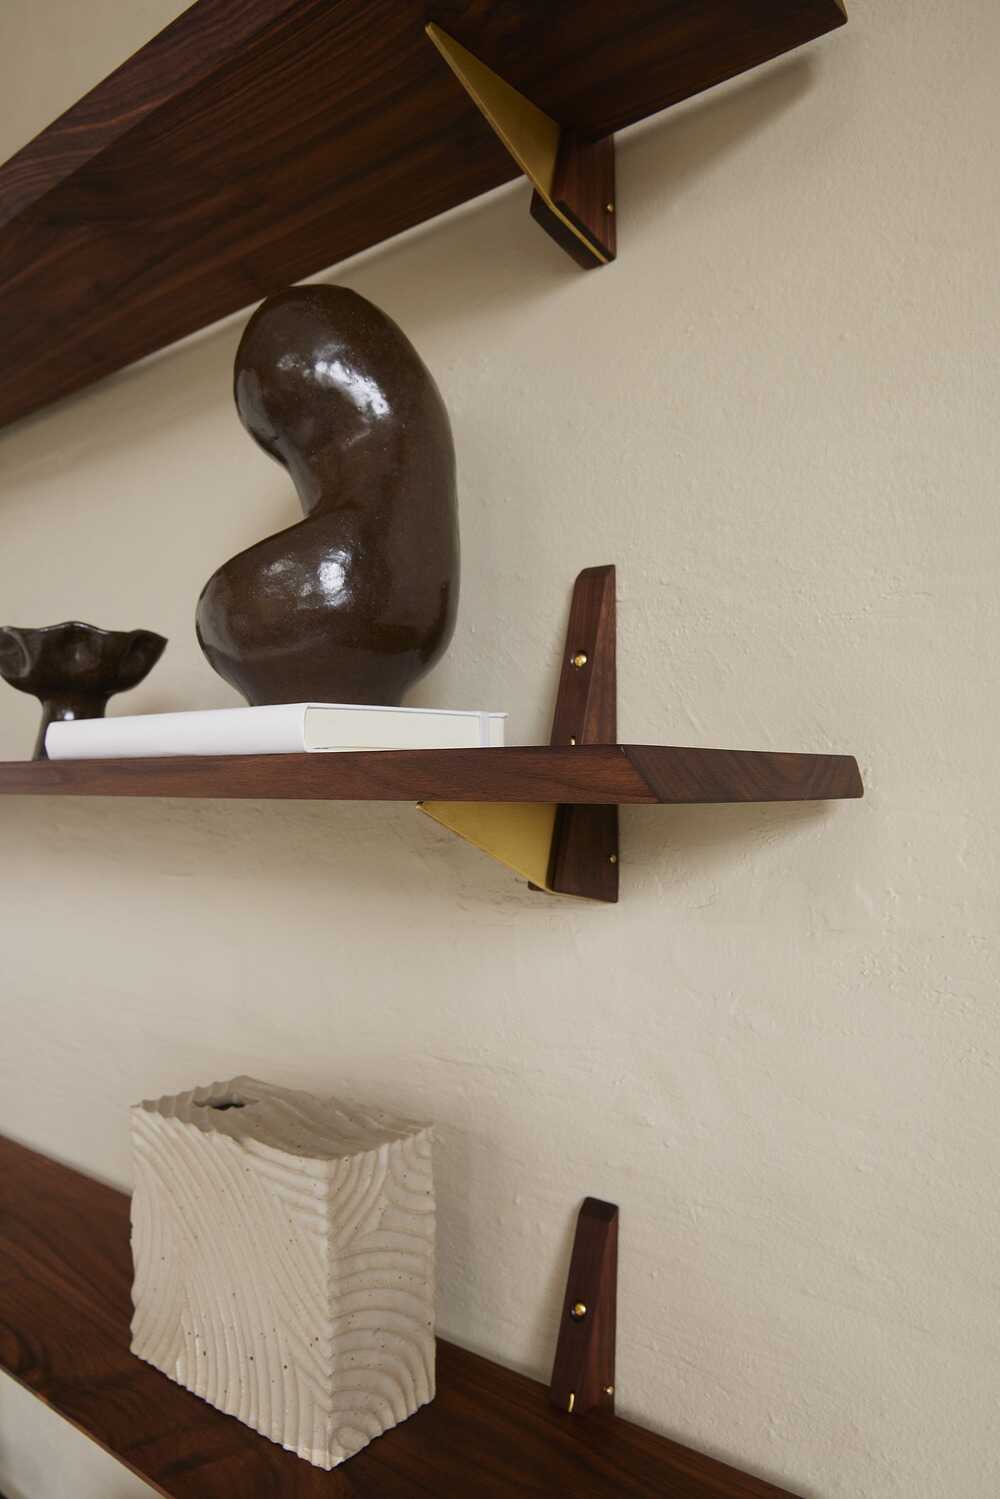
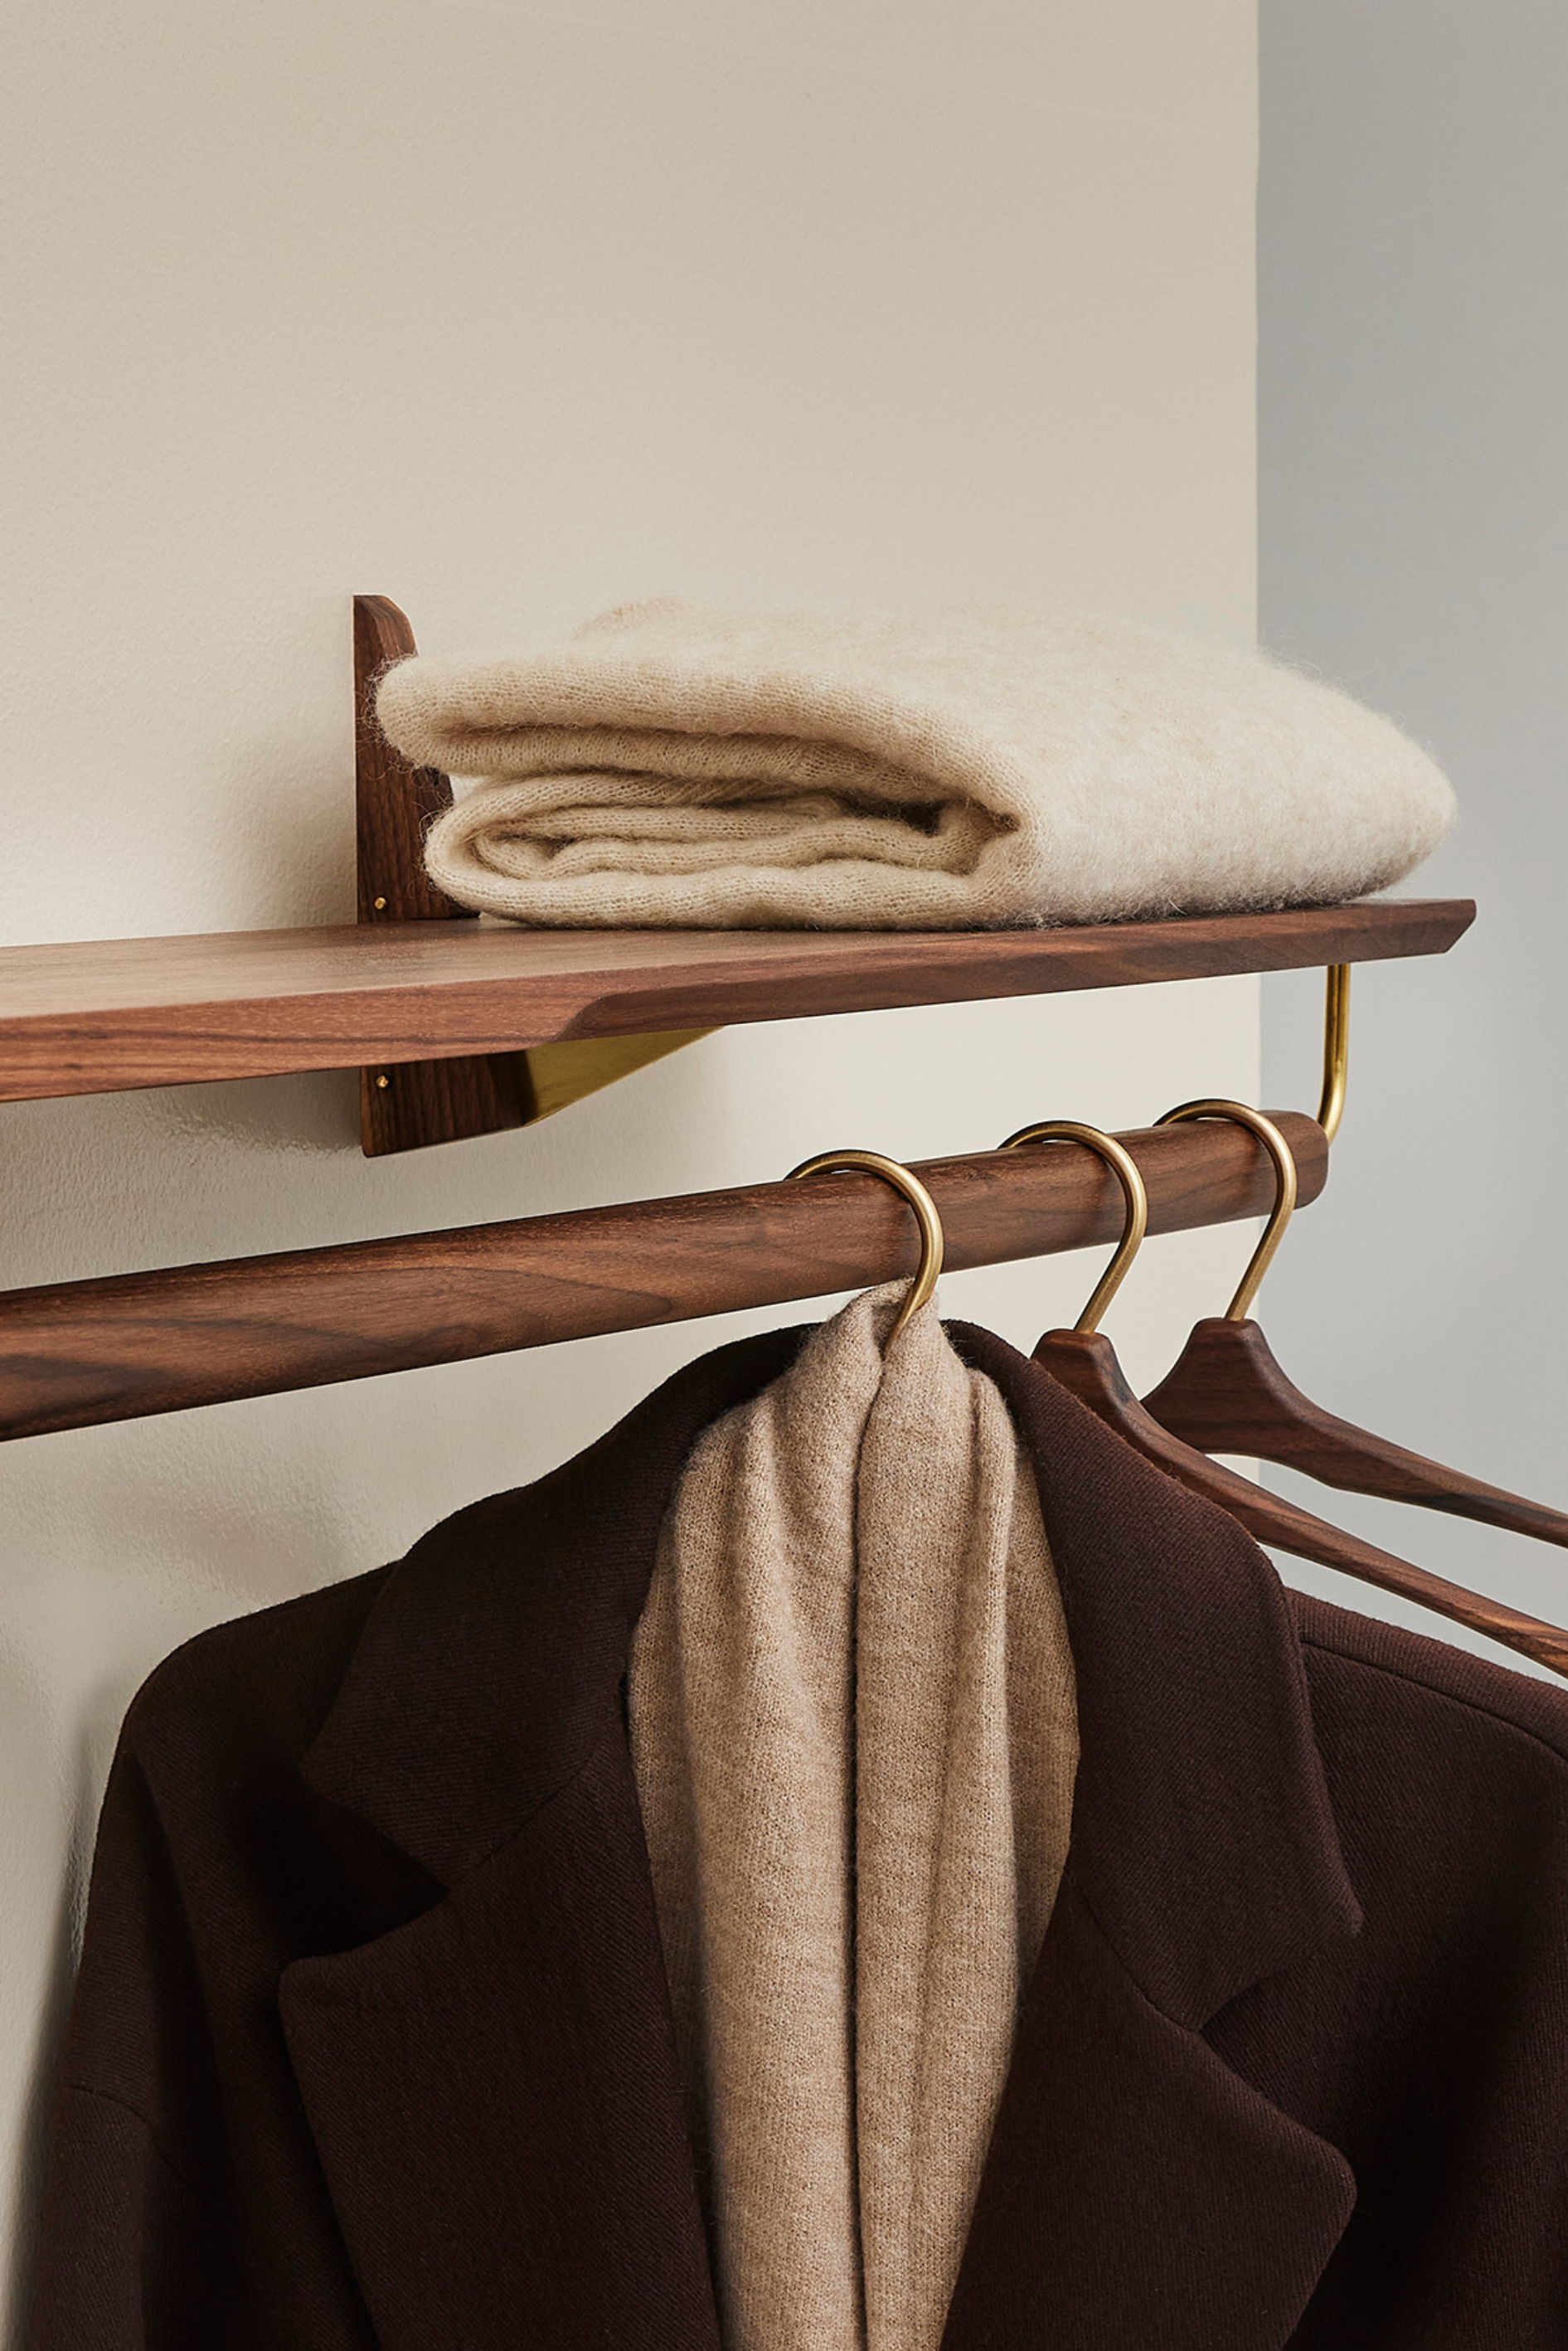
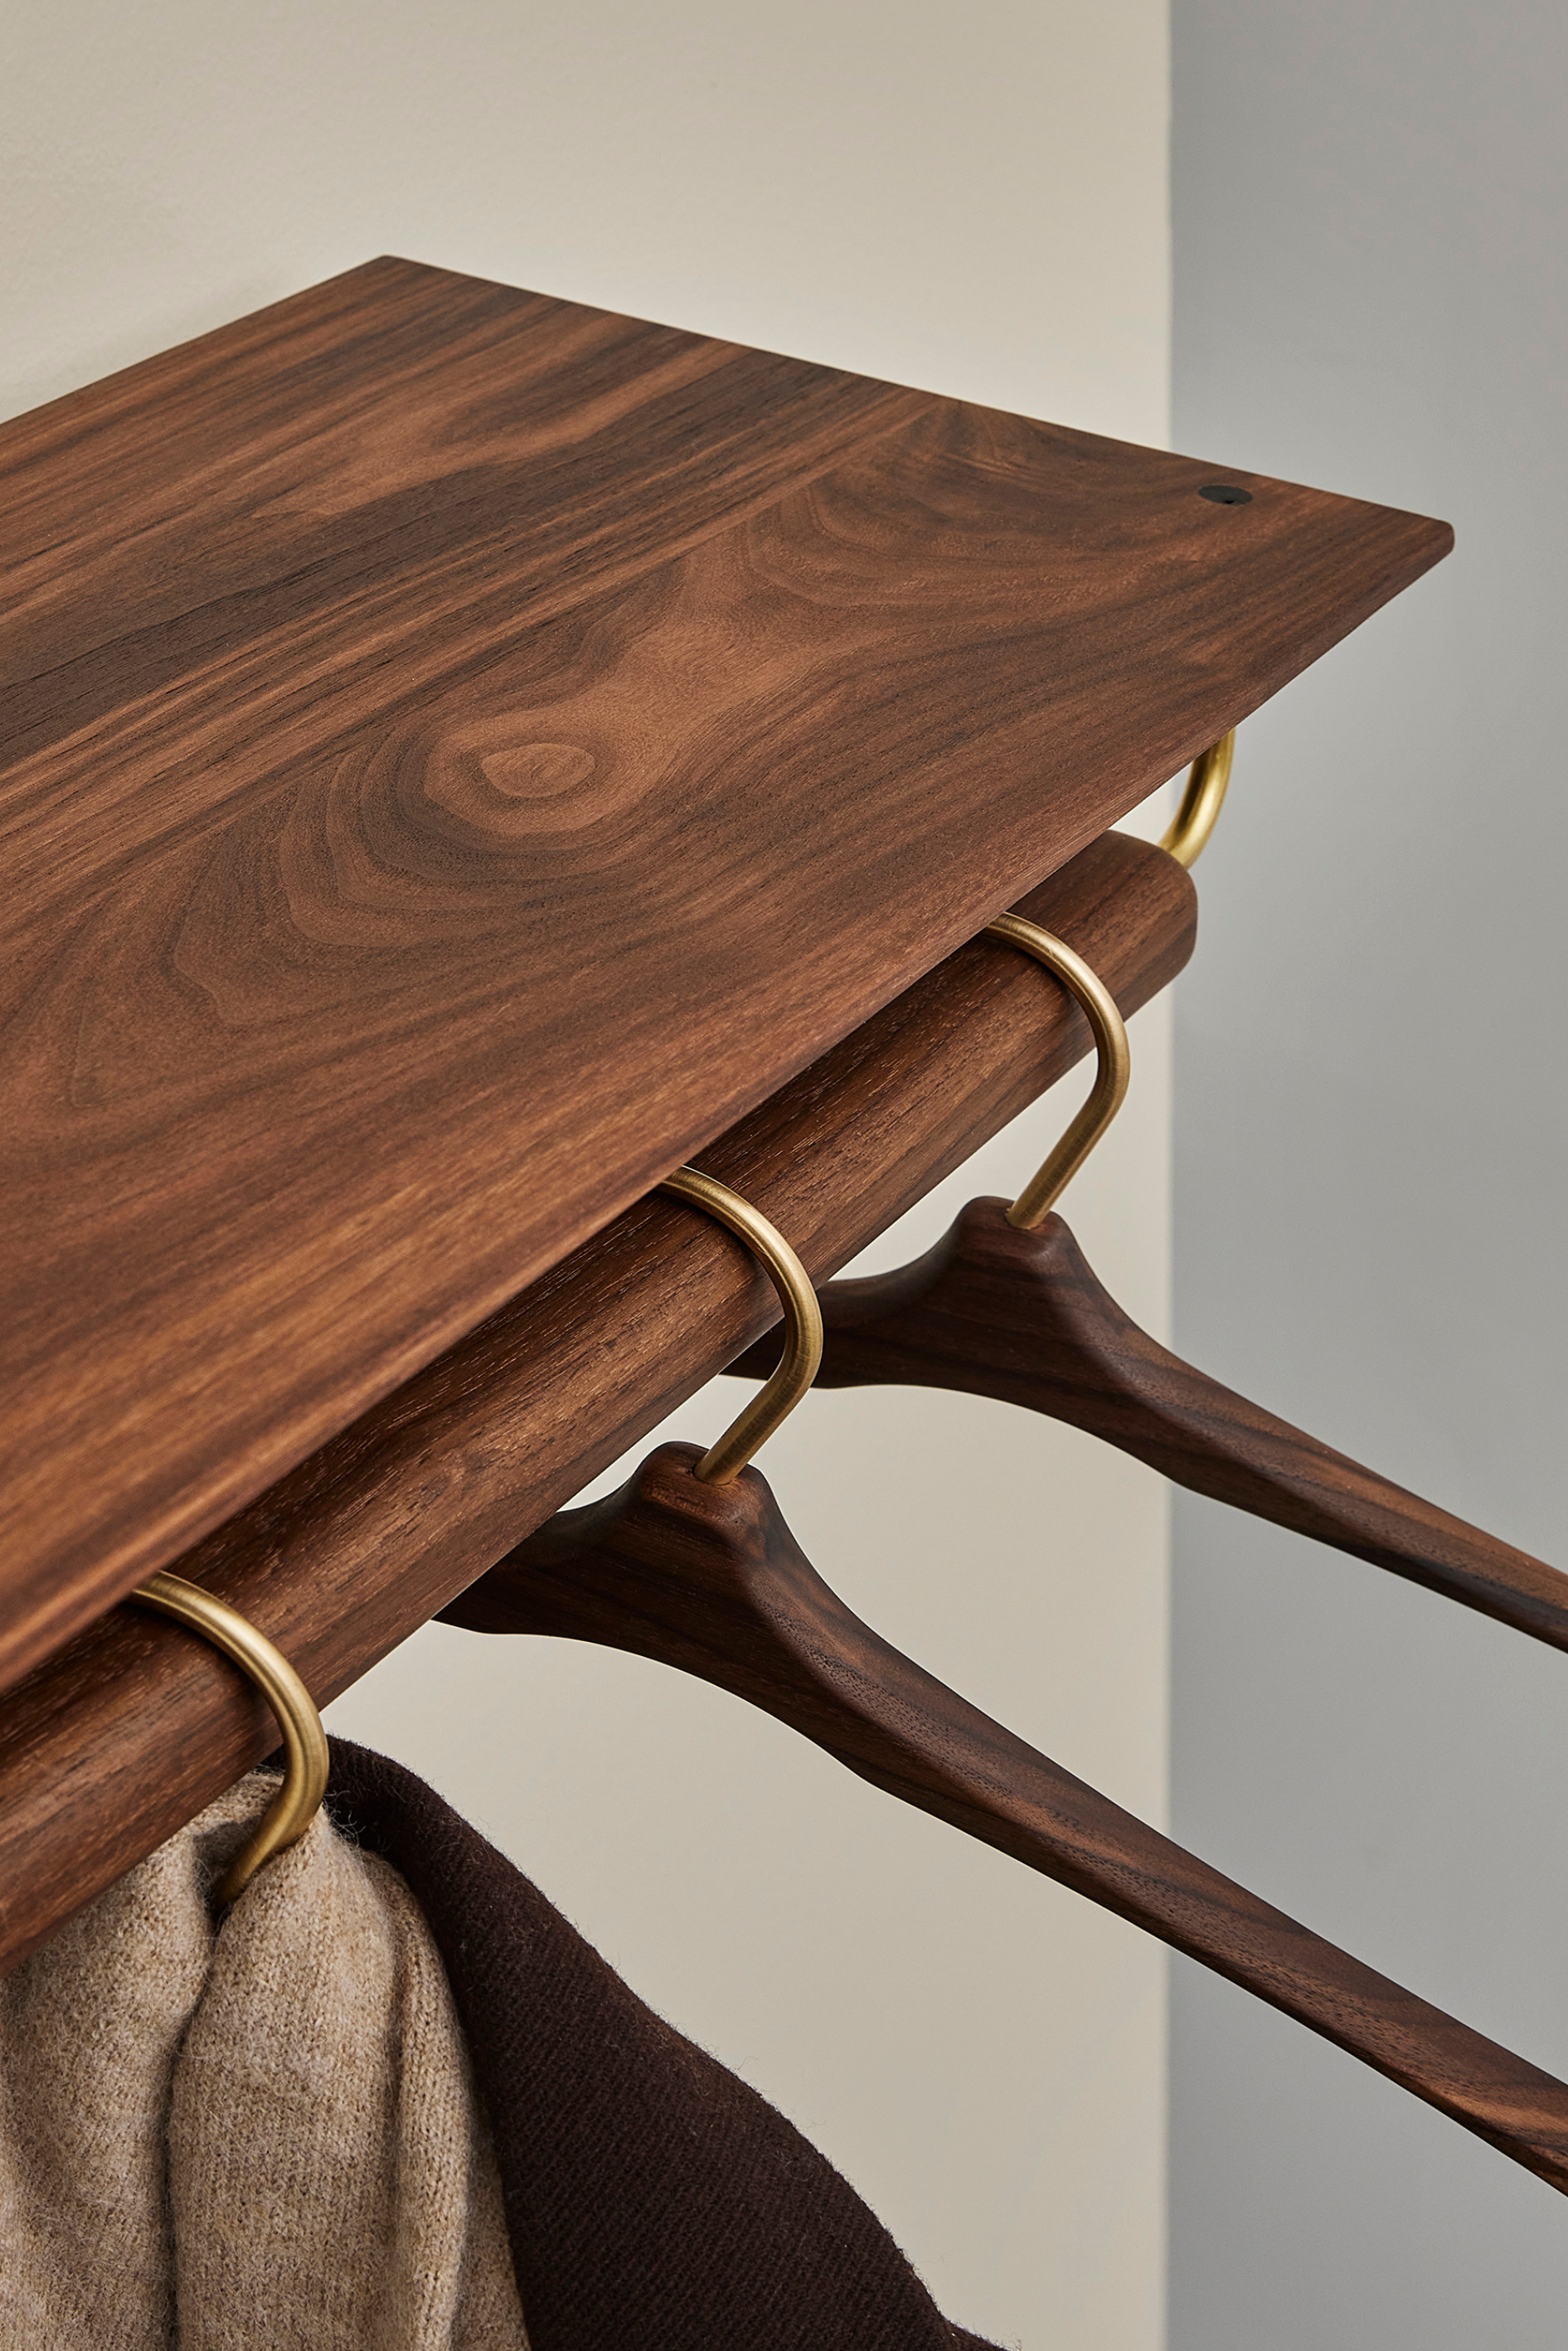
Wooden shelf and Hallway shelf with coat rack
Mounting Wooden shelves and Hallway shelves with coat rack
All our Wooden shelves, including the Hallway shelf with coat rack, are mounted the same way. Screws and wall plugs for brick and concrete walls are included. For other wall types, such as drywall or aerated concrete, we recommend using plugs suitable for that material.
Recommended tools: Drill, screwdriver or power drill, level, and pencil.
It’s helpful to have two people, but it can also be done alone.
How to do it – step by step:
- Hold the shelf against the wall and mark one hole where you want it to hang.
- Drill the hole, insert the wall plug, and screw the shelf in place at that point.
- Use a level to make sure the shelf is straight and mark the second hole.
- Let the shelf hang from the first screw while you drill the second hole and insert the wall plug.
- Screw the shelf into the second hole – now it’s ready to use.
Note: An extra screw is included. Brass screws are softer than regular screws, so we send a spare in case one breaks.

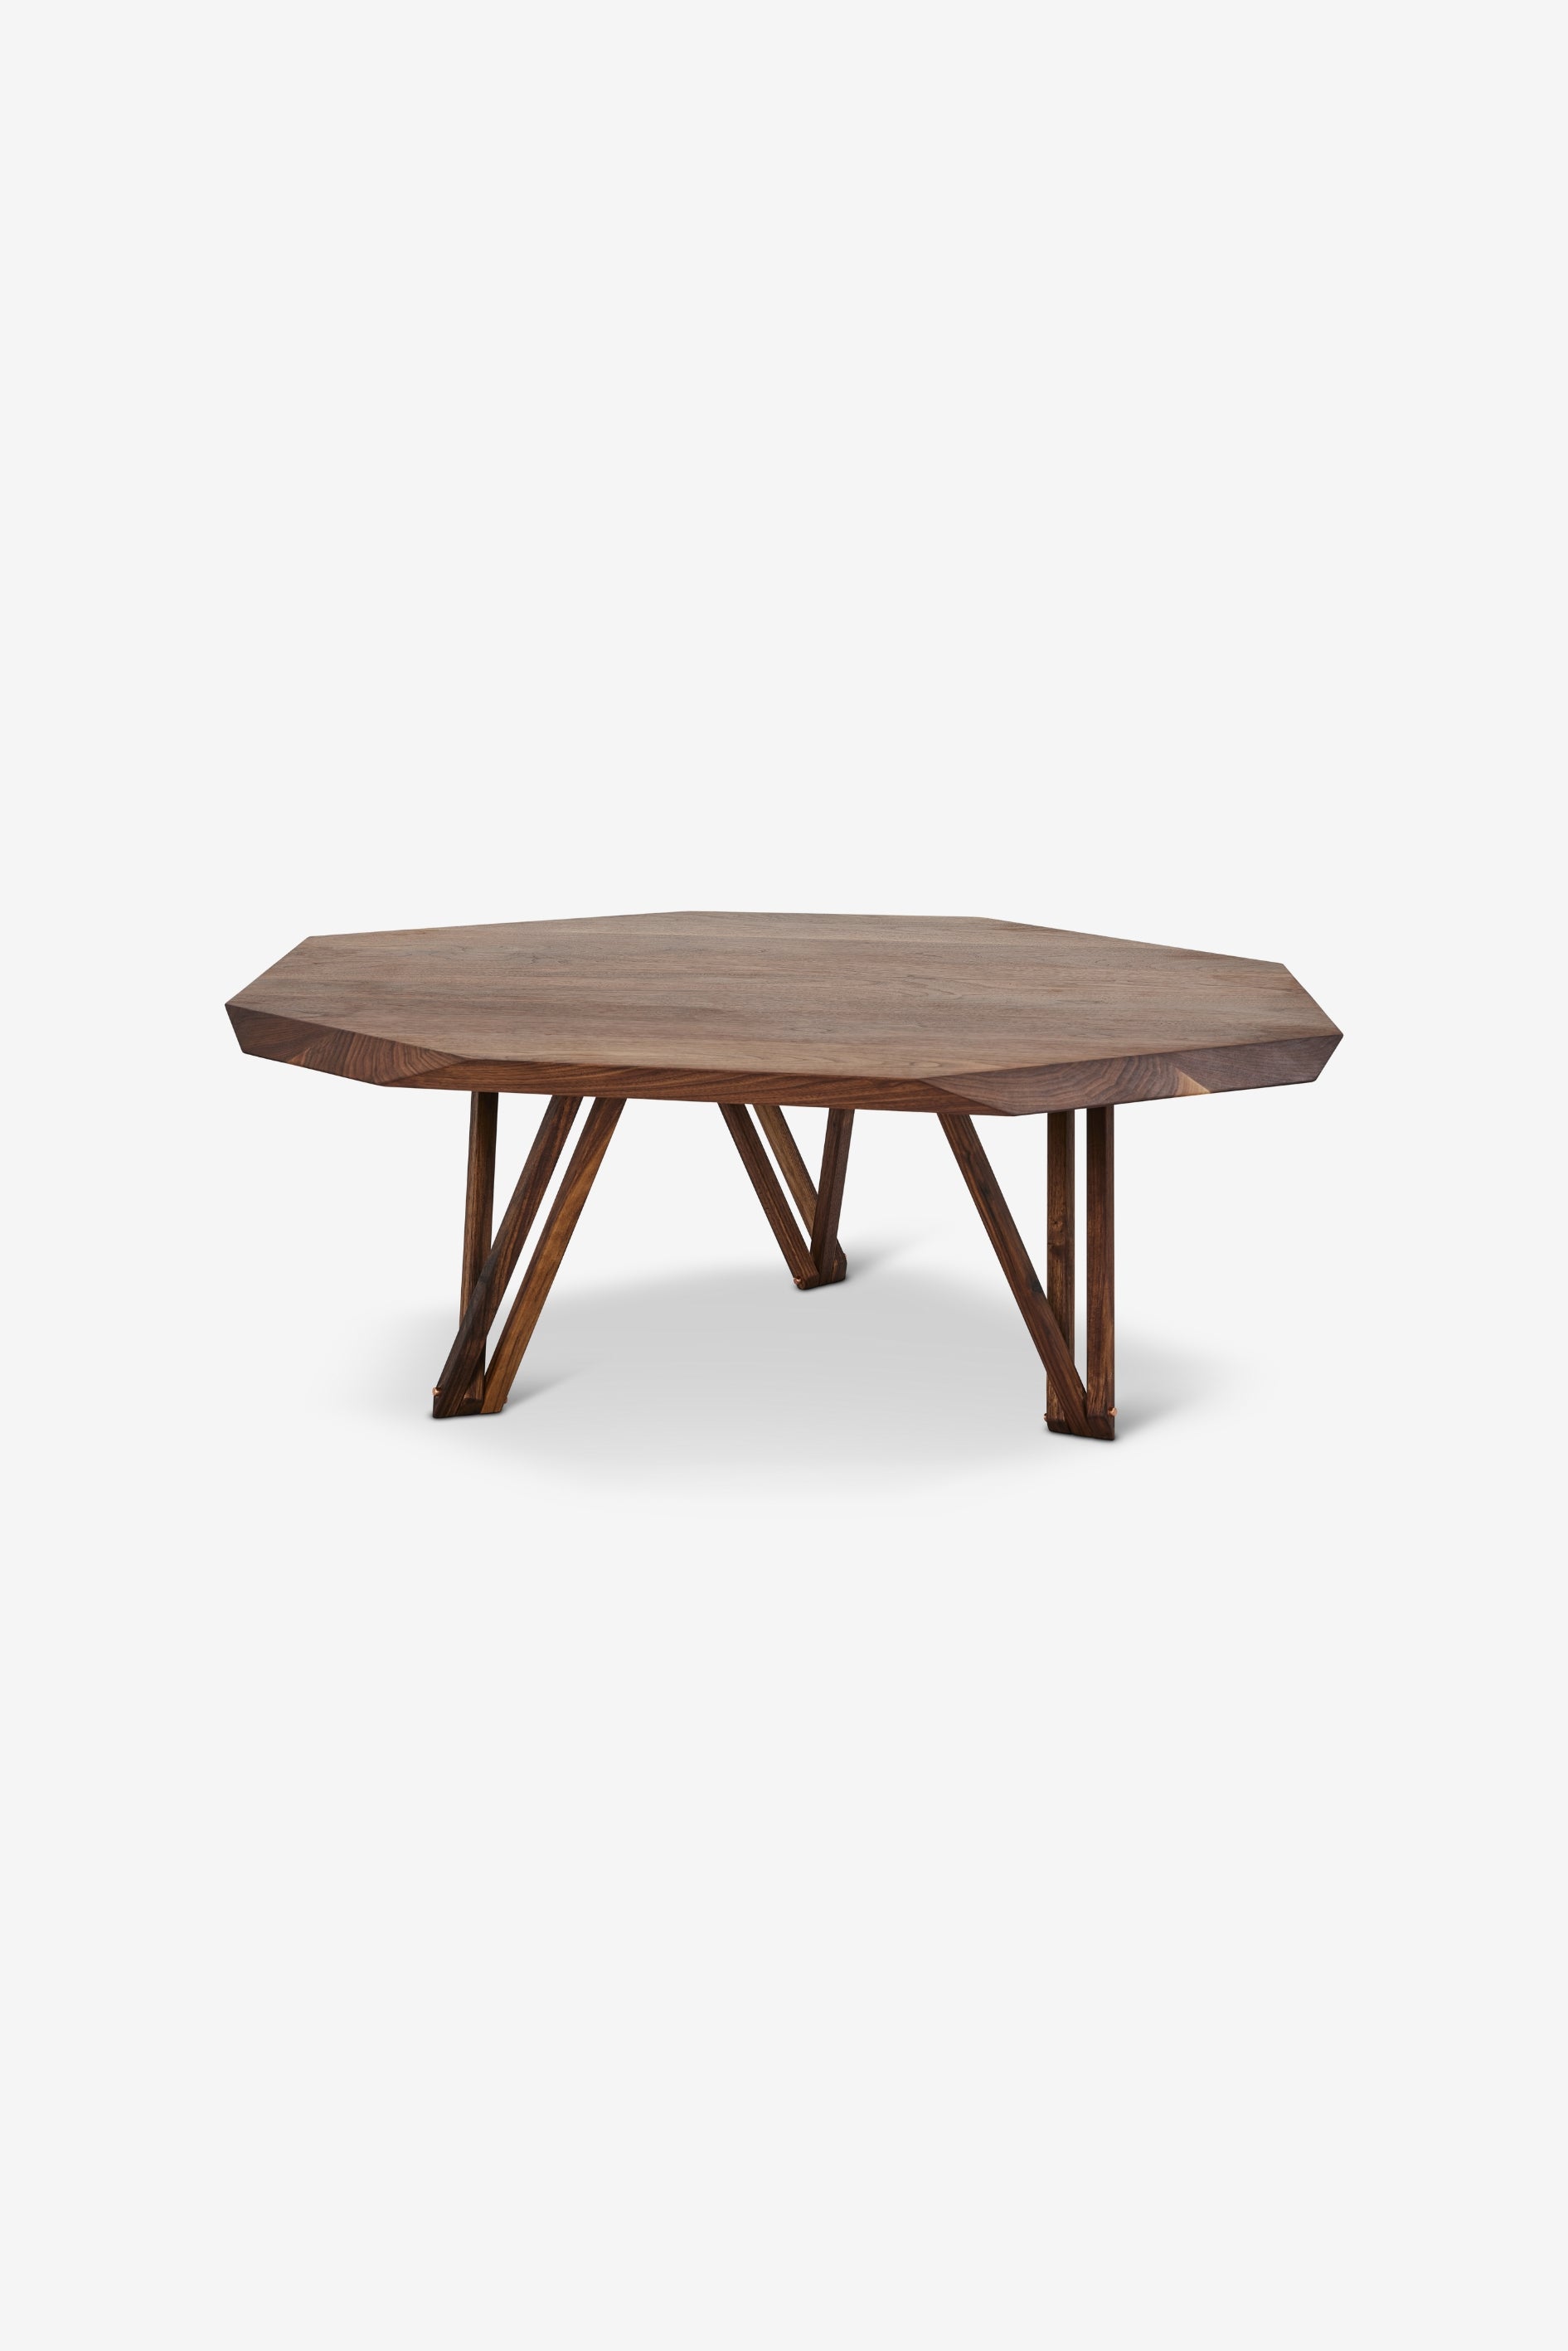
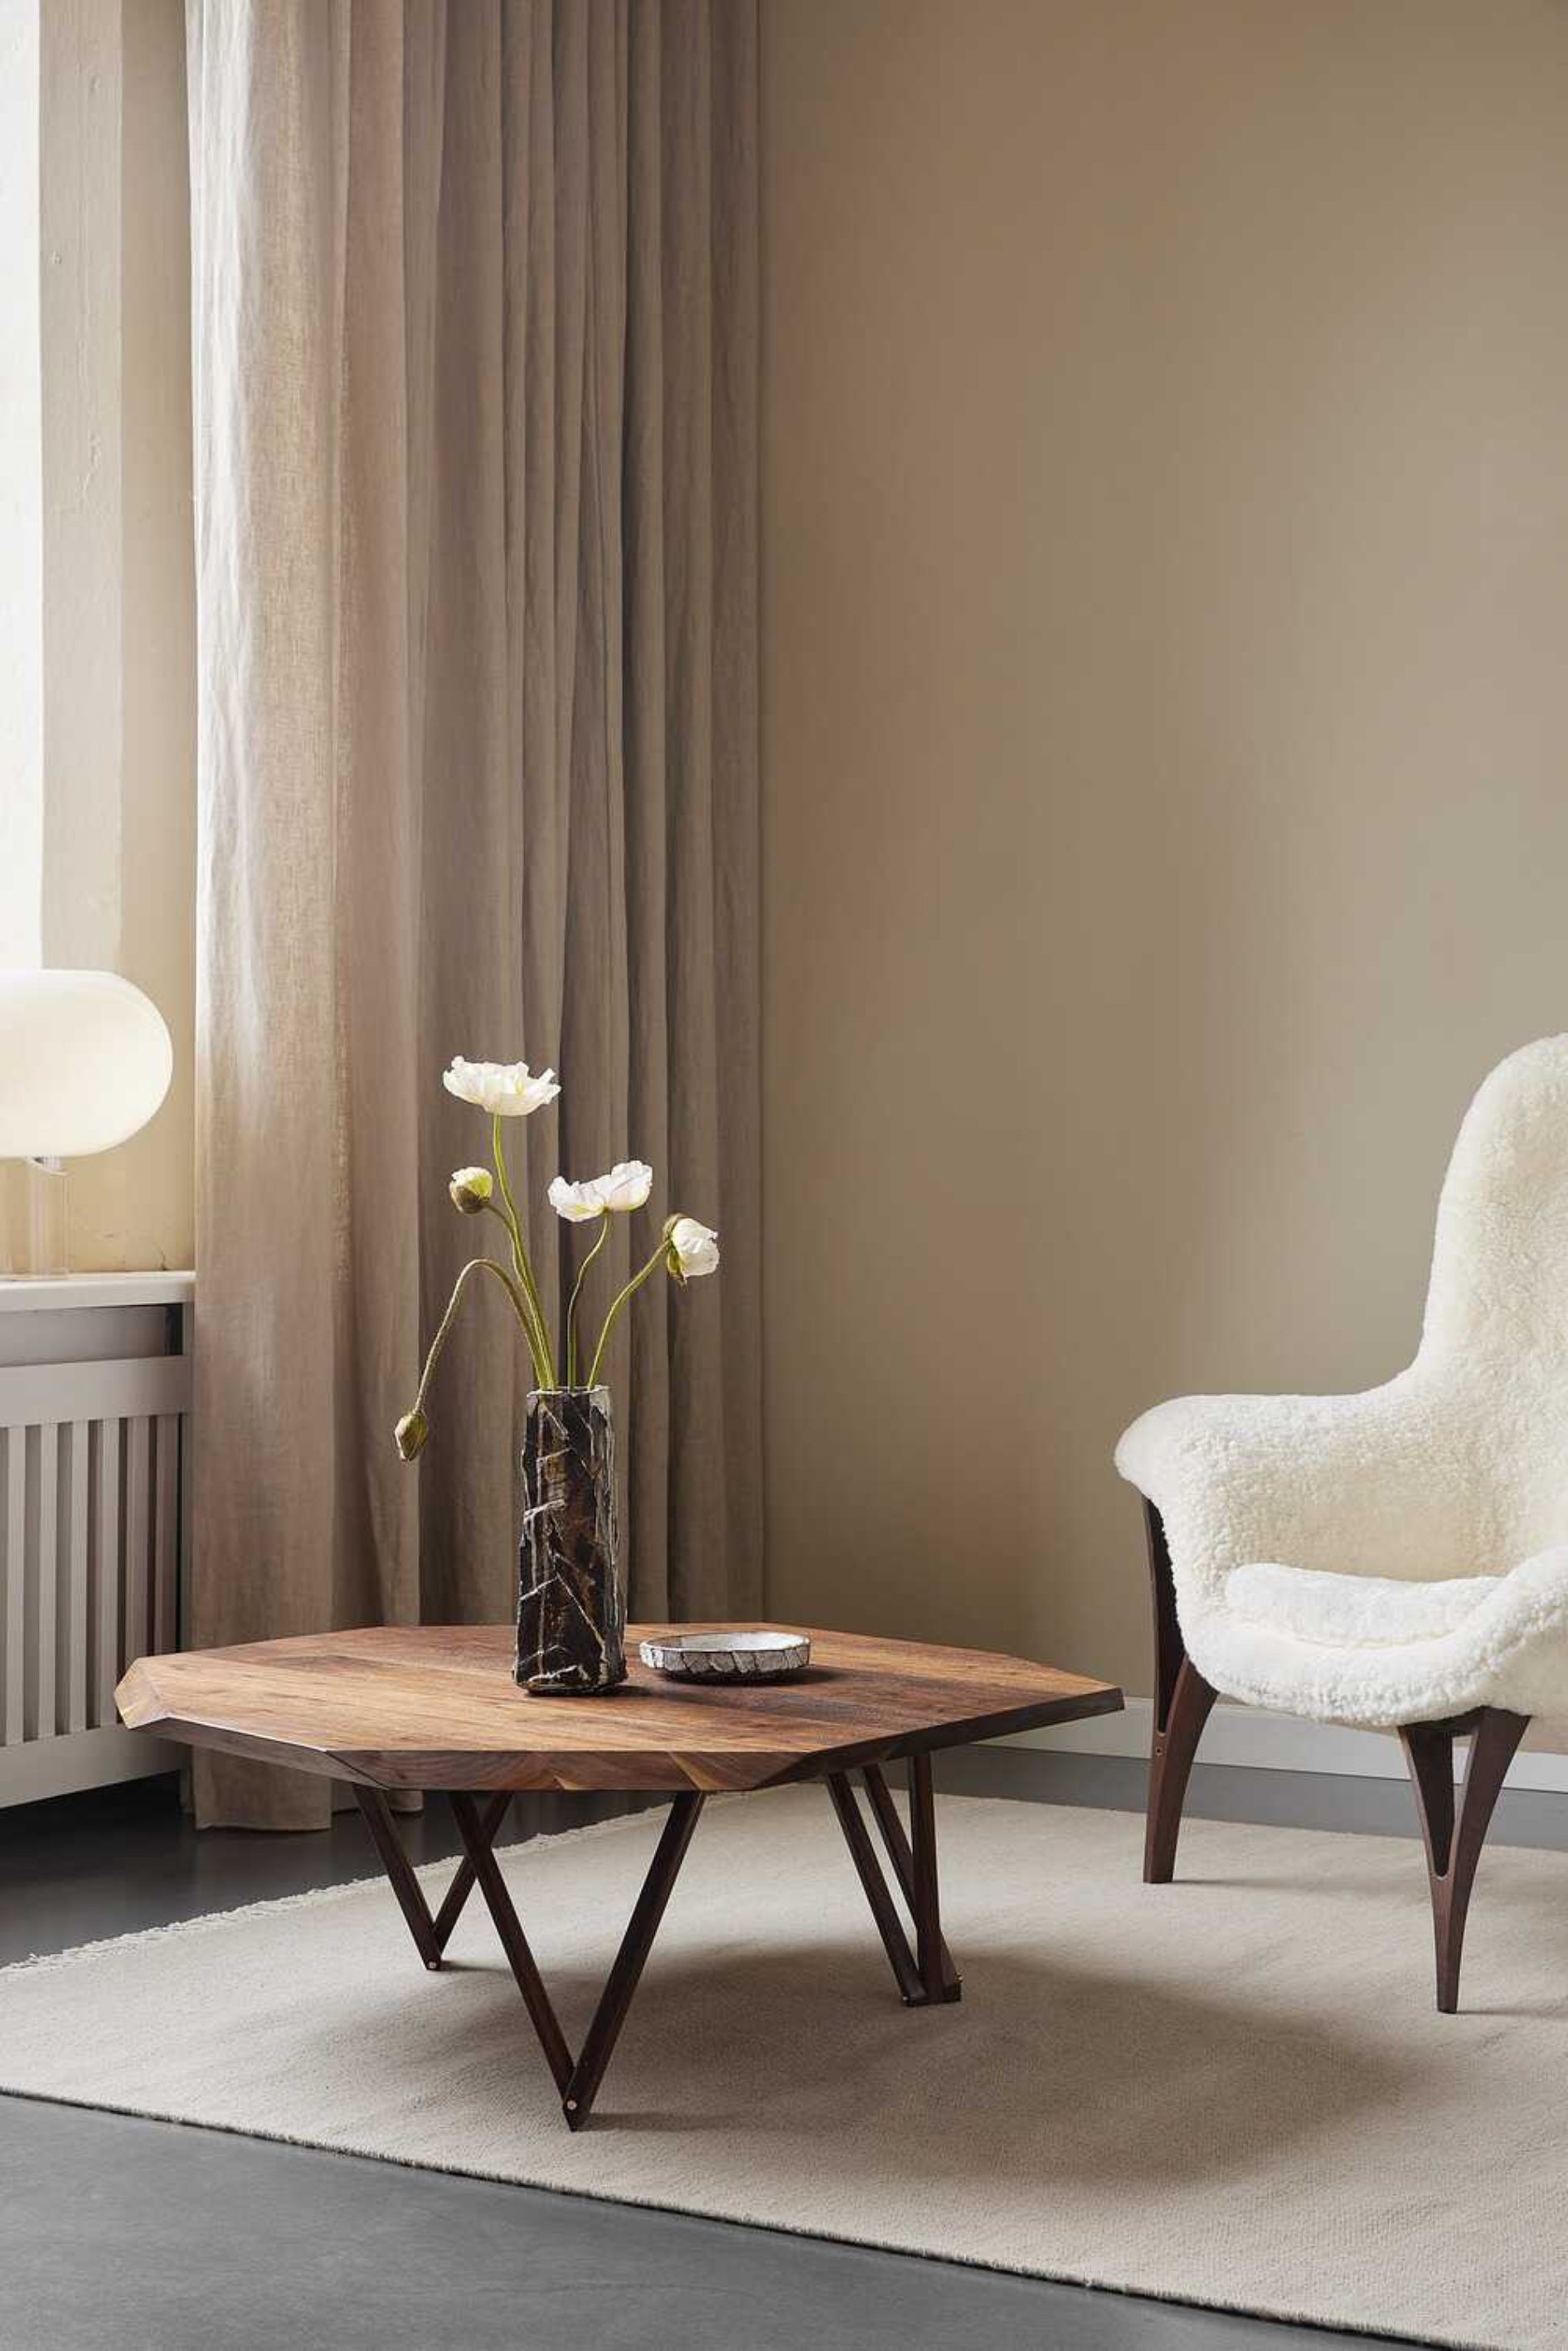
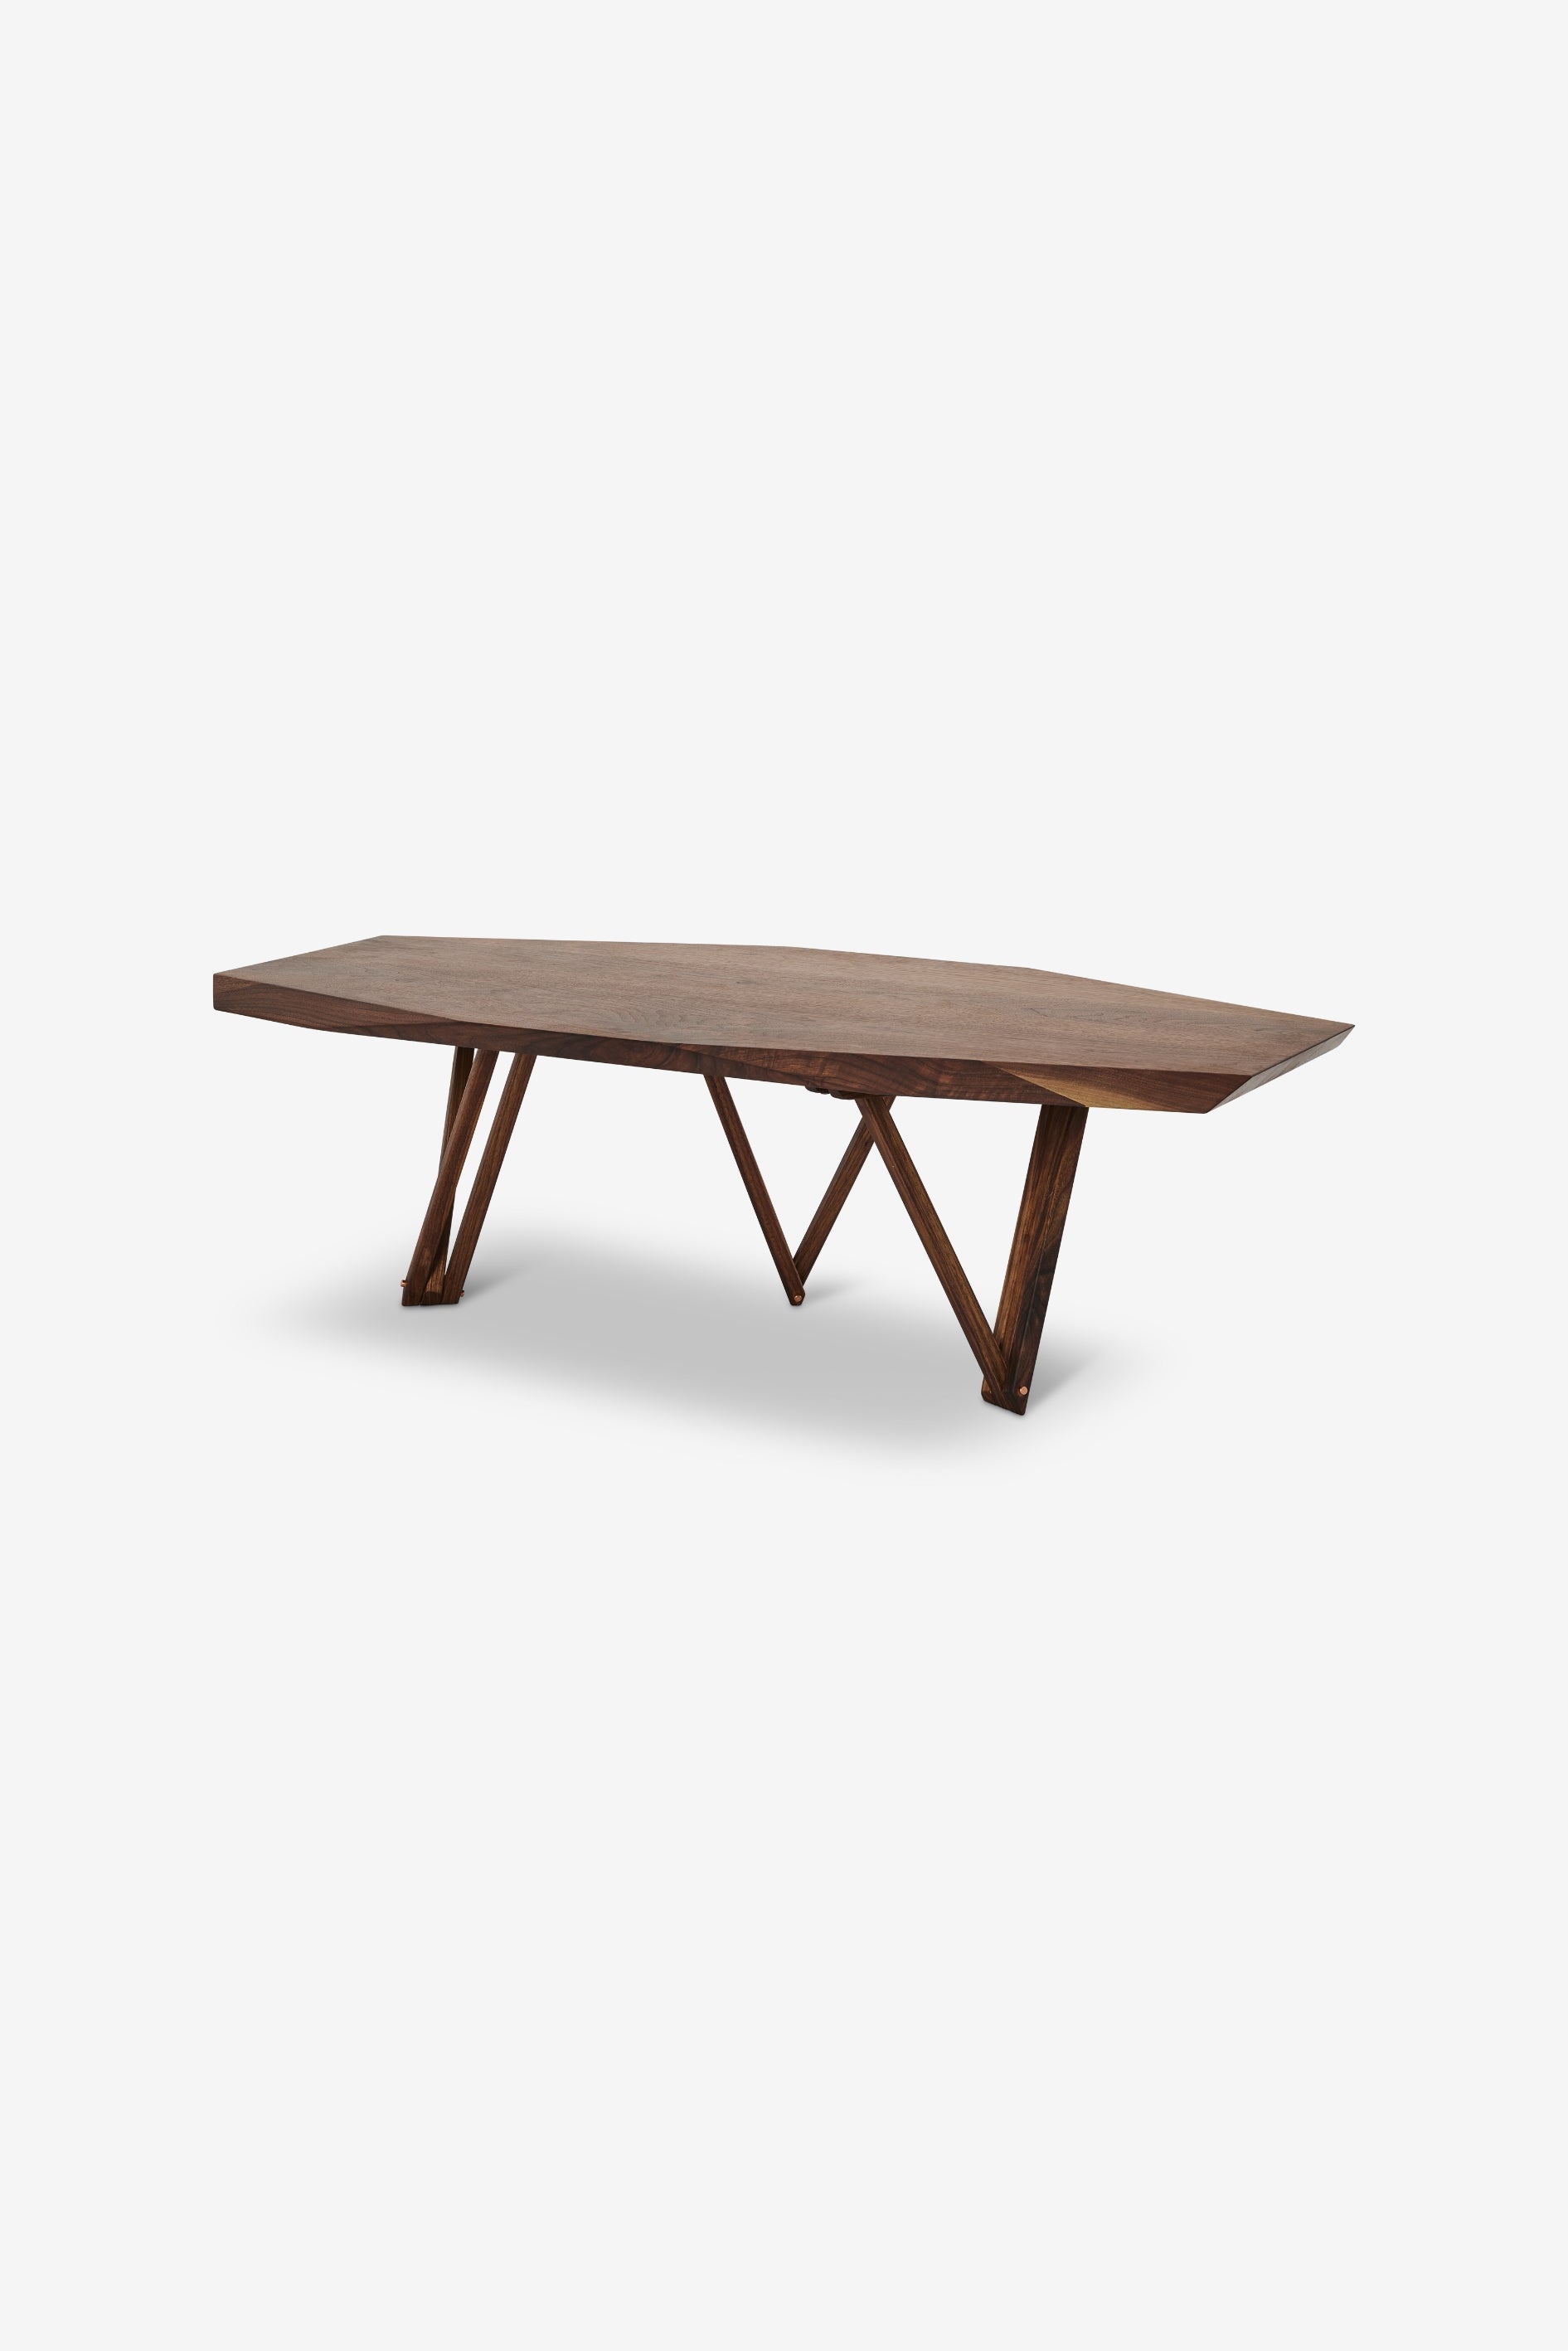
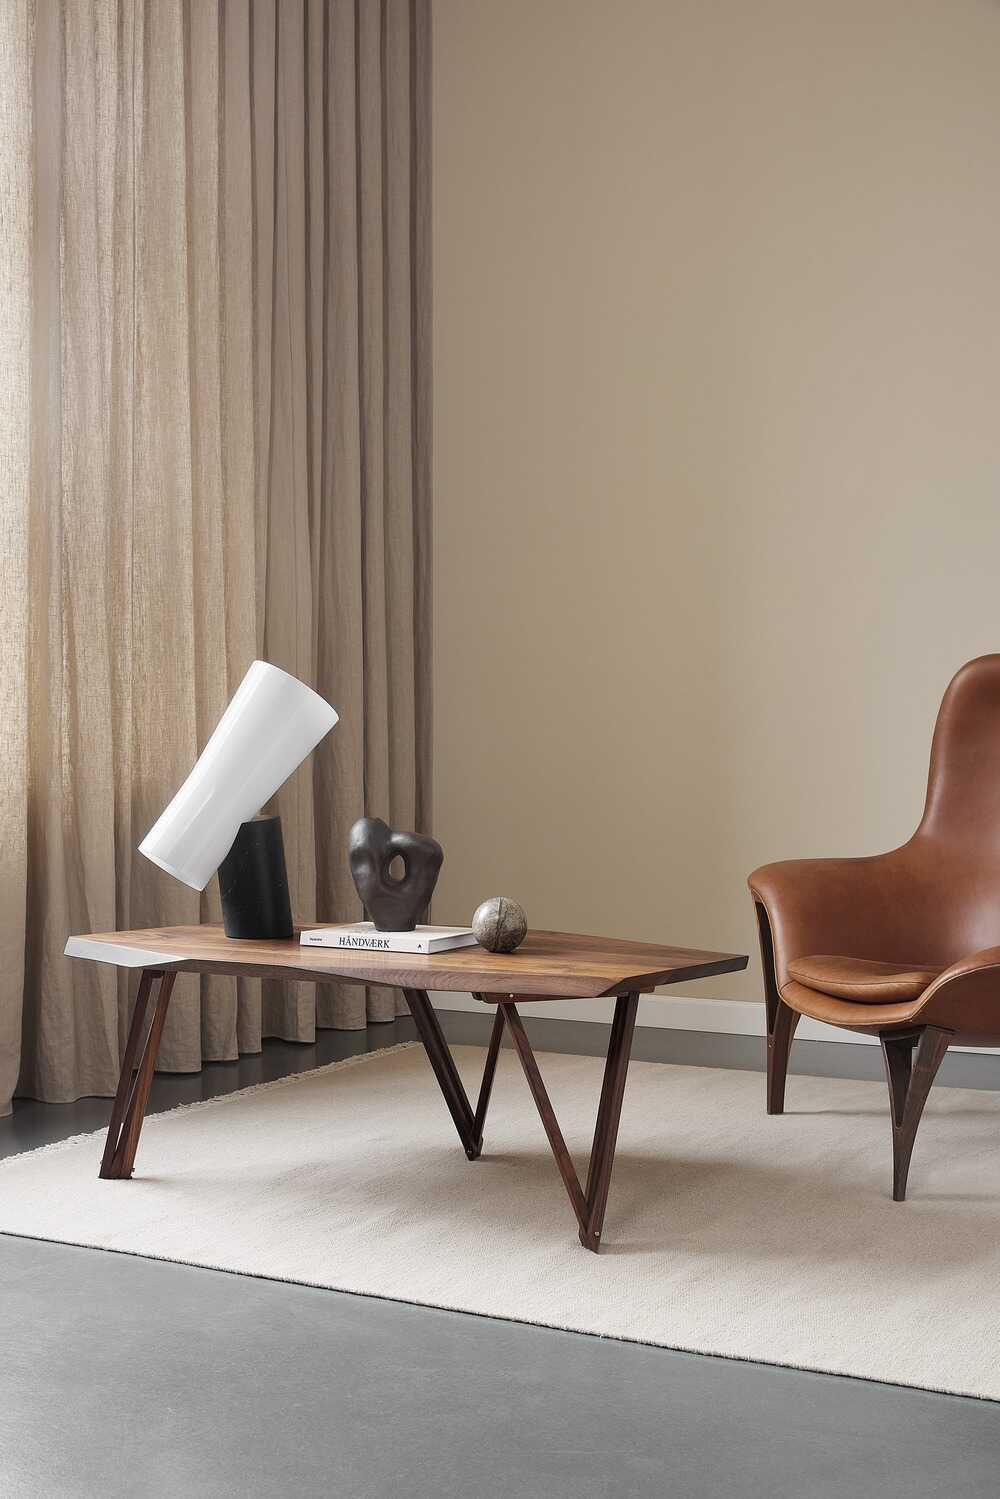
Table legs
Mounting table legs
It’s easy to mount the legs on our tables – and everything you need is included. The table legs are designed so they only fit one way. You can’t mount them incorrectly – everything lines up automatically when you put the parts together.
As a rule, the tables are delivered assembled. But if they need to be shipped long distances – or you’re transporting it yourself – we remove the legs to protect both the tabletop and legs in transit.
How to do it – step by step:
- Place the tabletop upside down – preferably on a rug or soft surface to avoid scratches.
- Position the table legs so the holes align with the threads in the tabletop.
- Fasten the legs with the included screws and Allen key.
Now your table is ready for use.
Take good care of your product
Once you’ve mounted your product, it’s important to take good care of it so it stays beautiful for many years. We’ve put together a guide with helpful tips for care and maintenance.
Explore our products