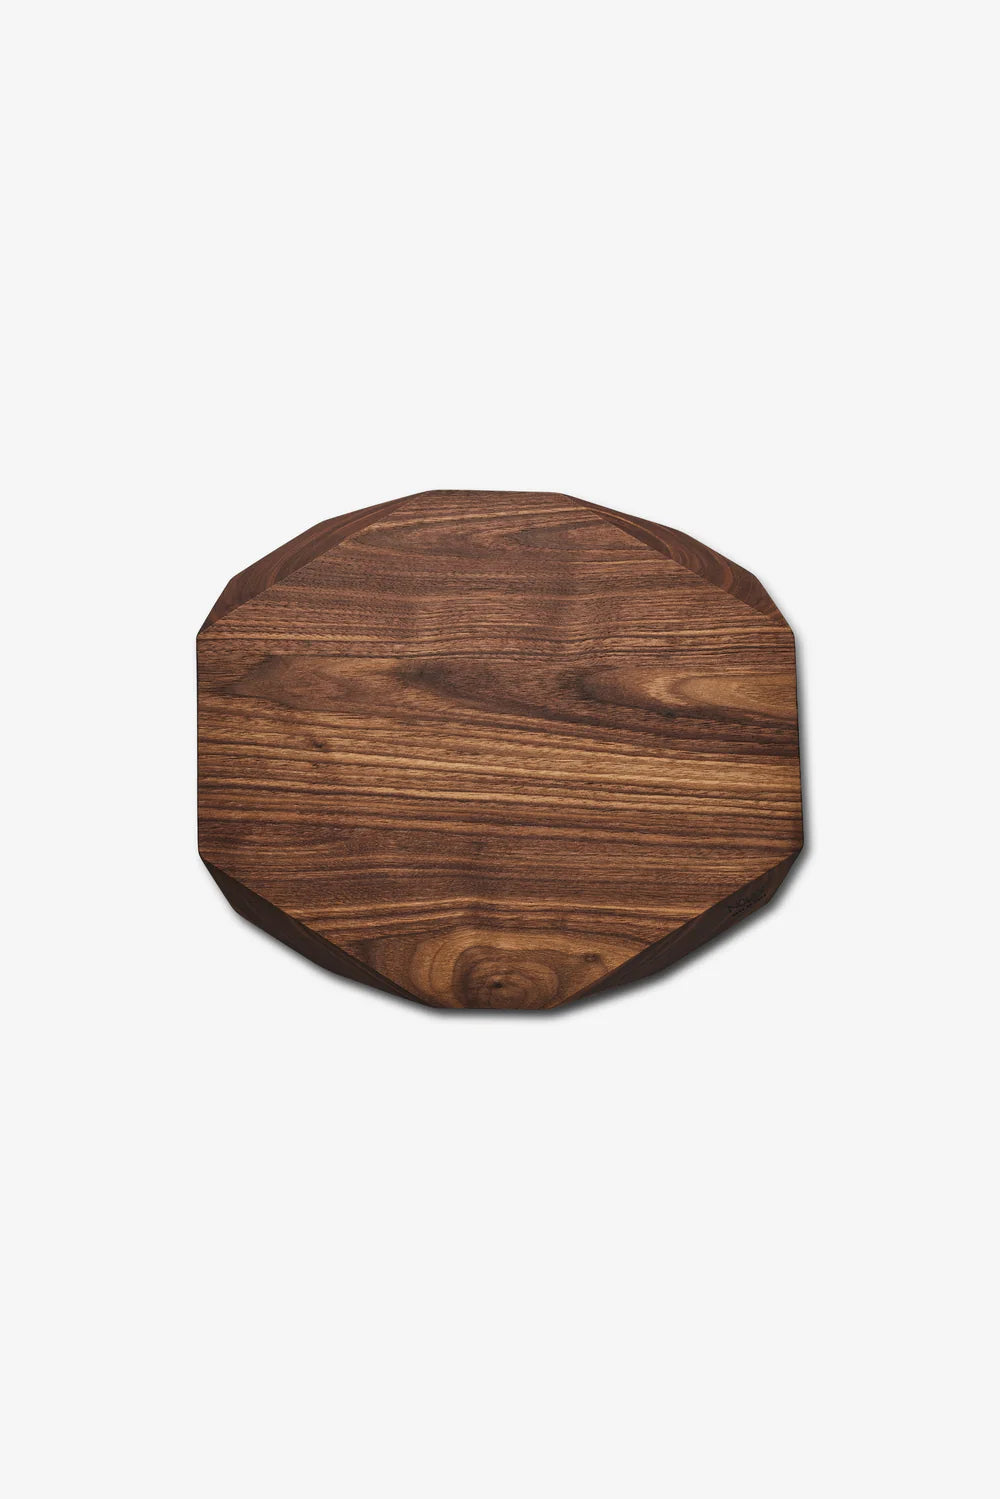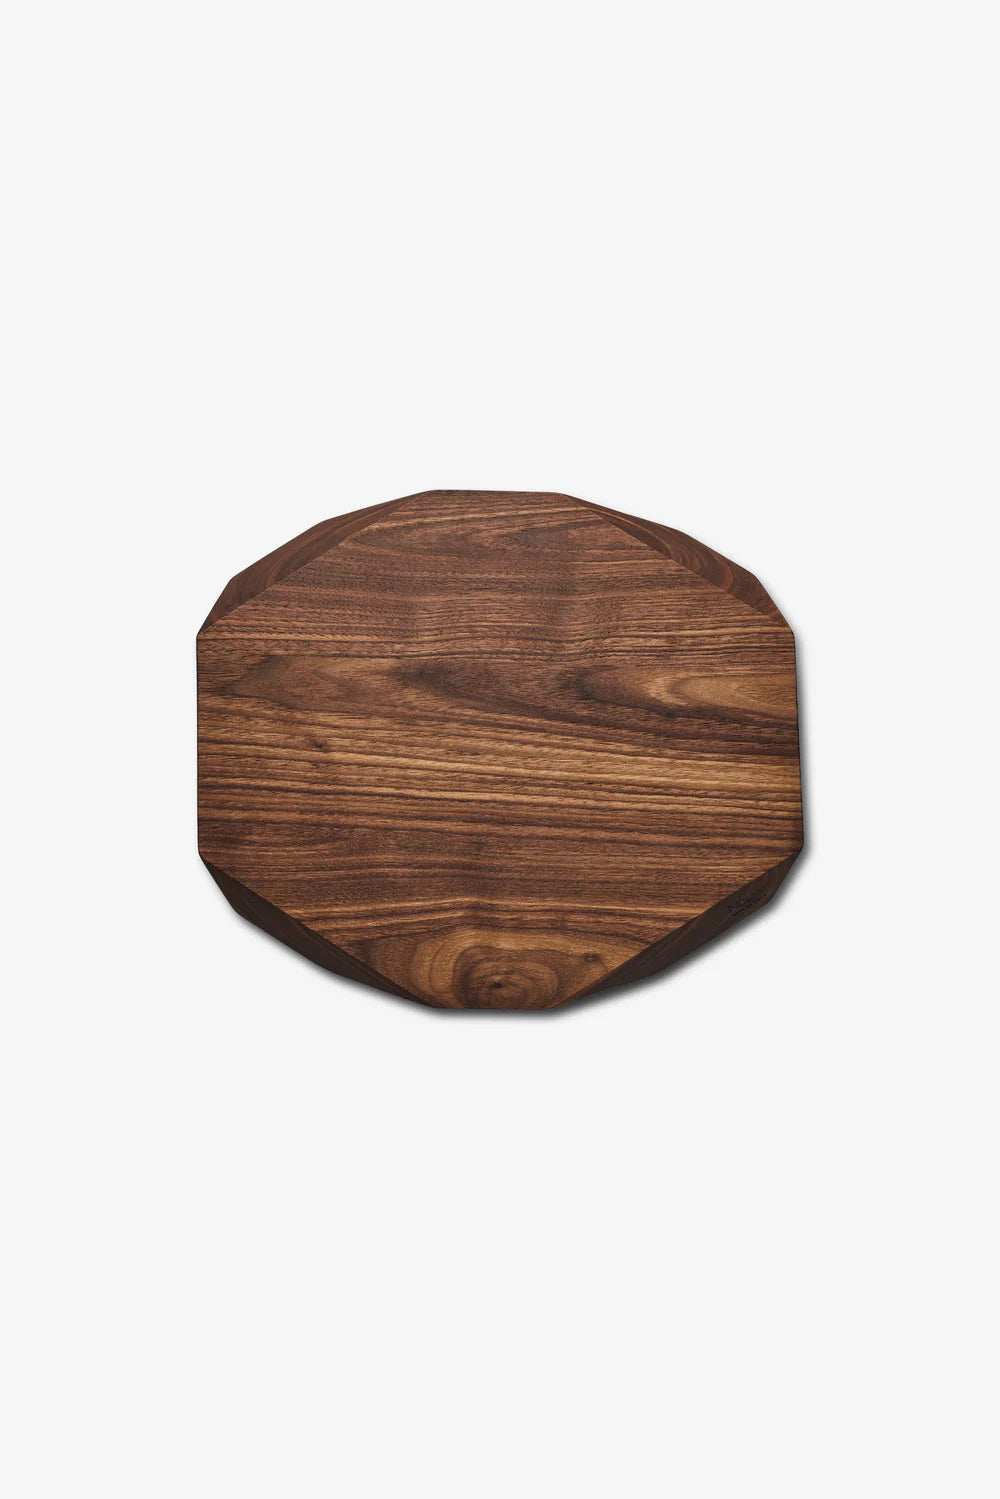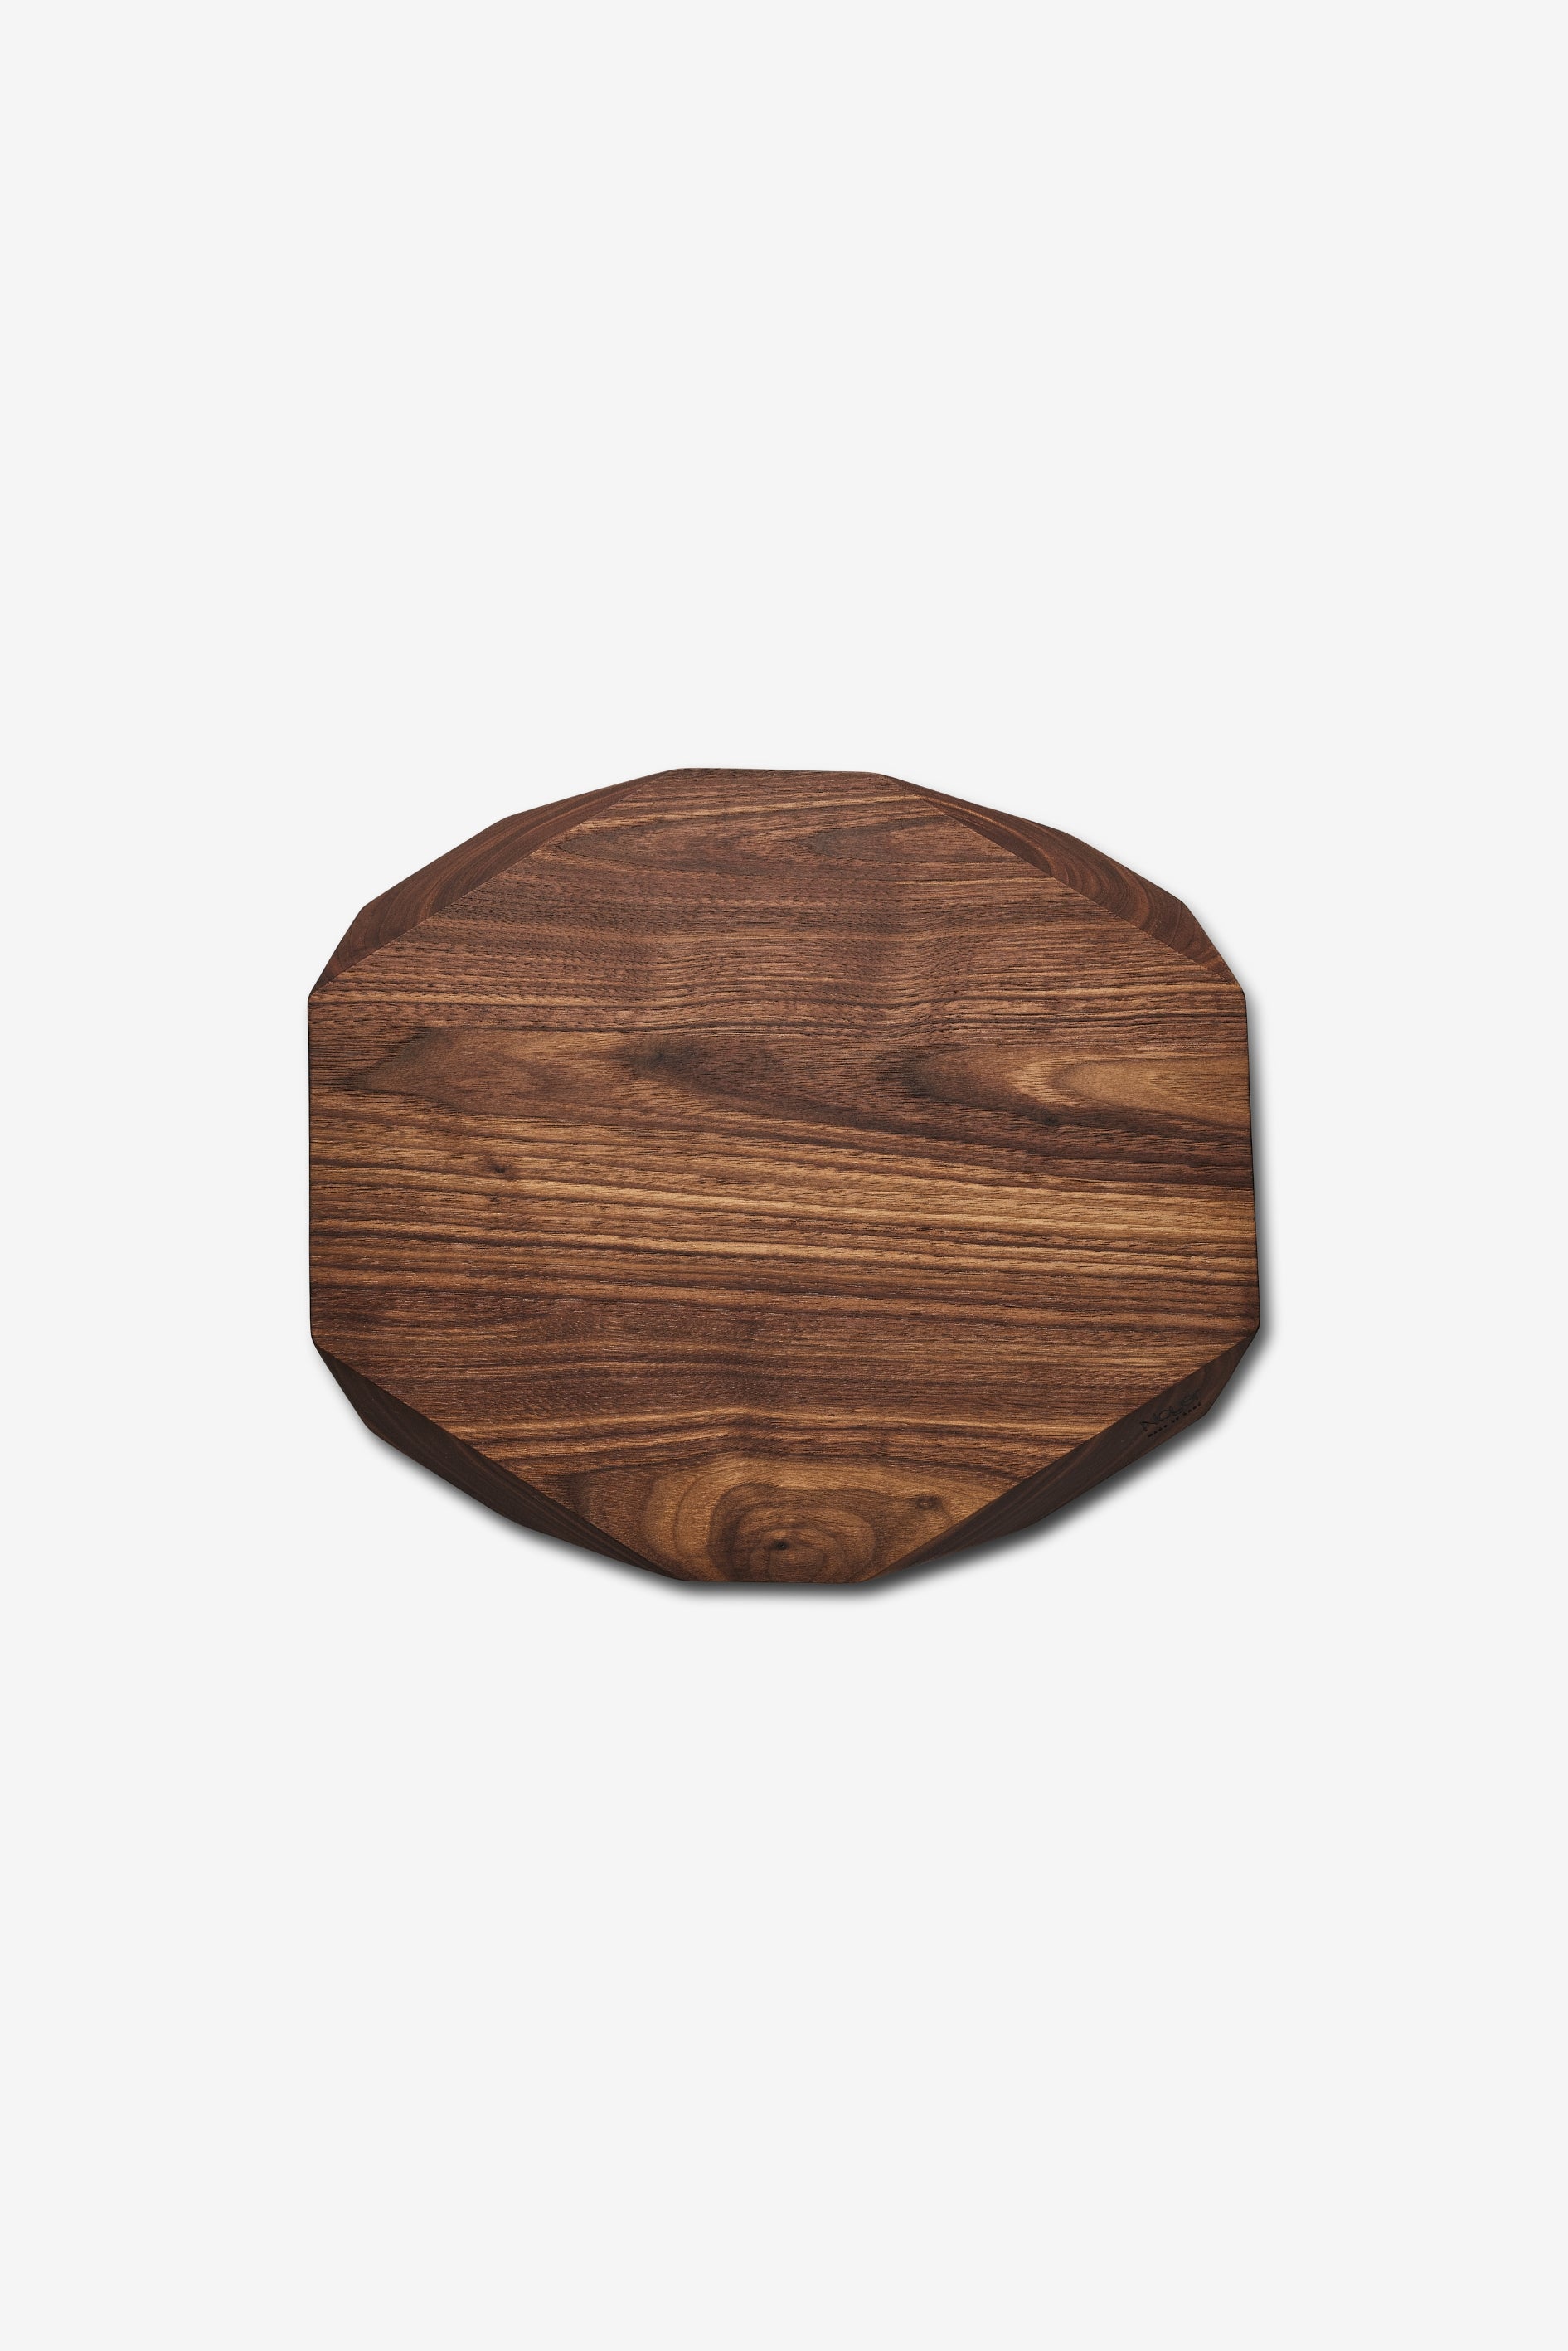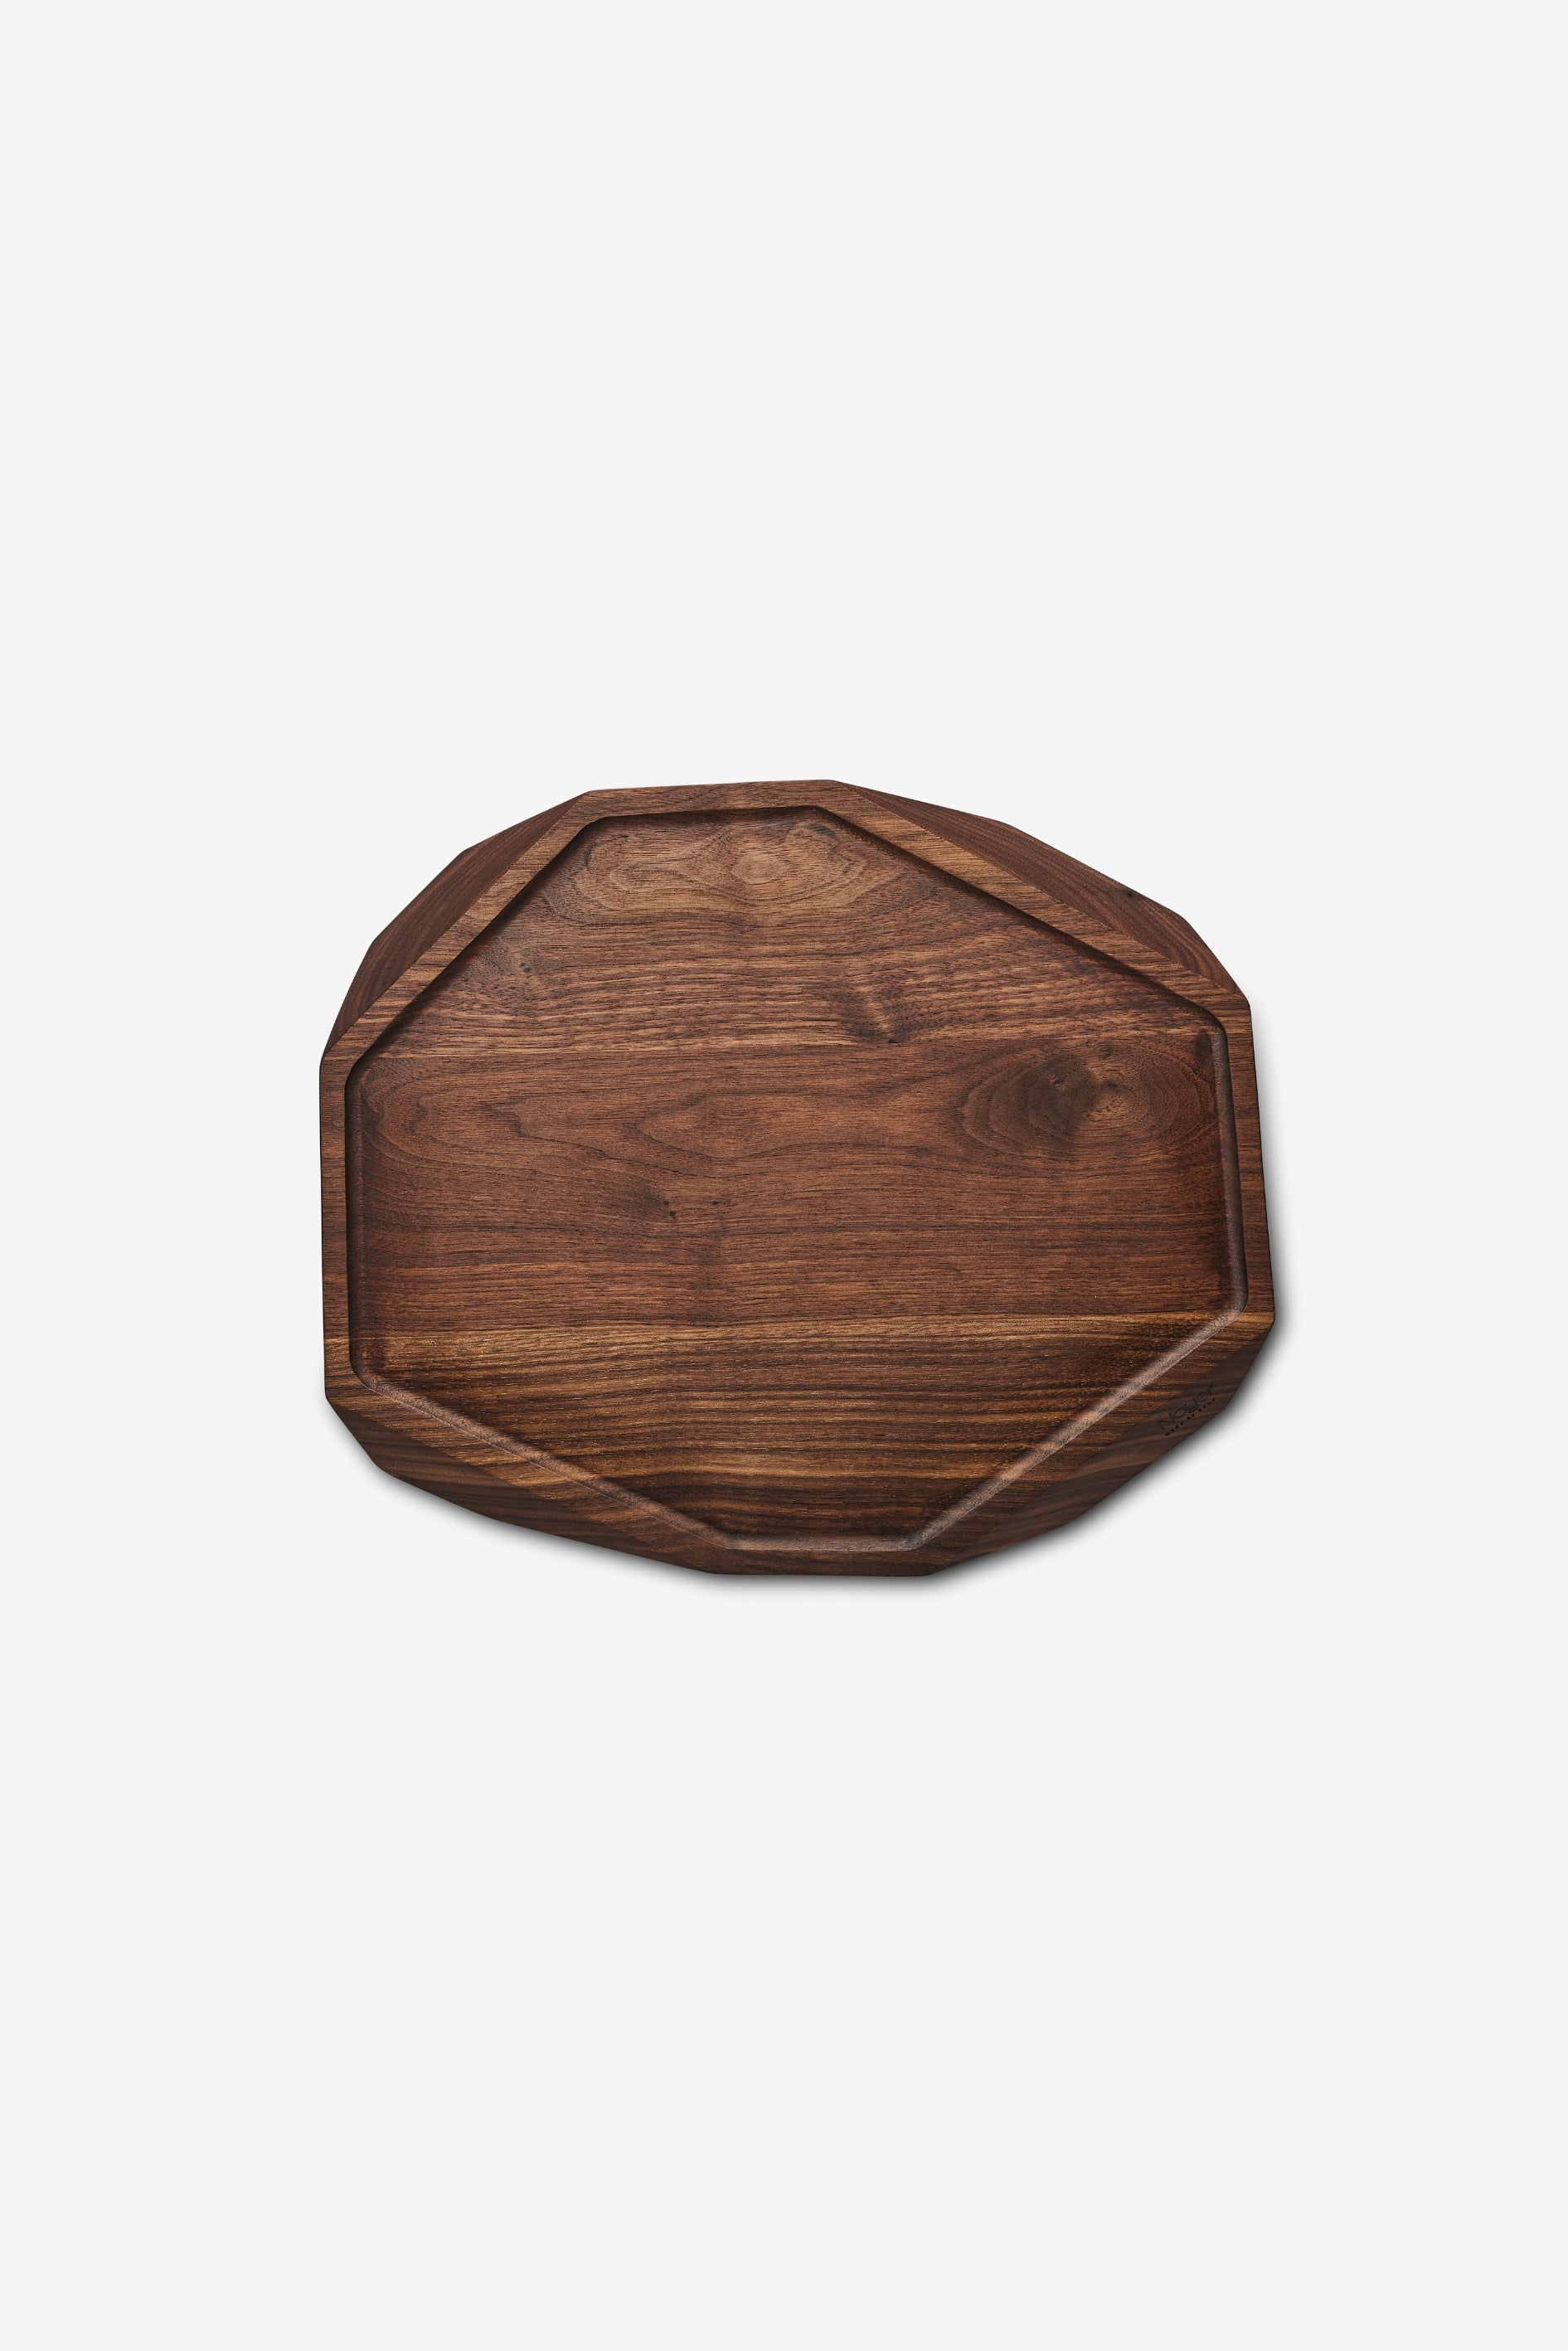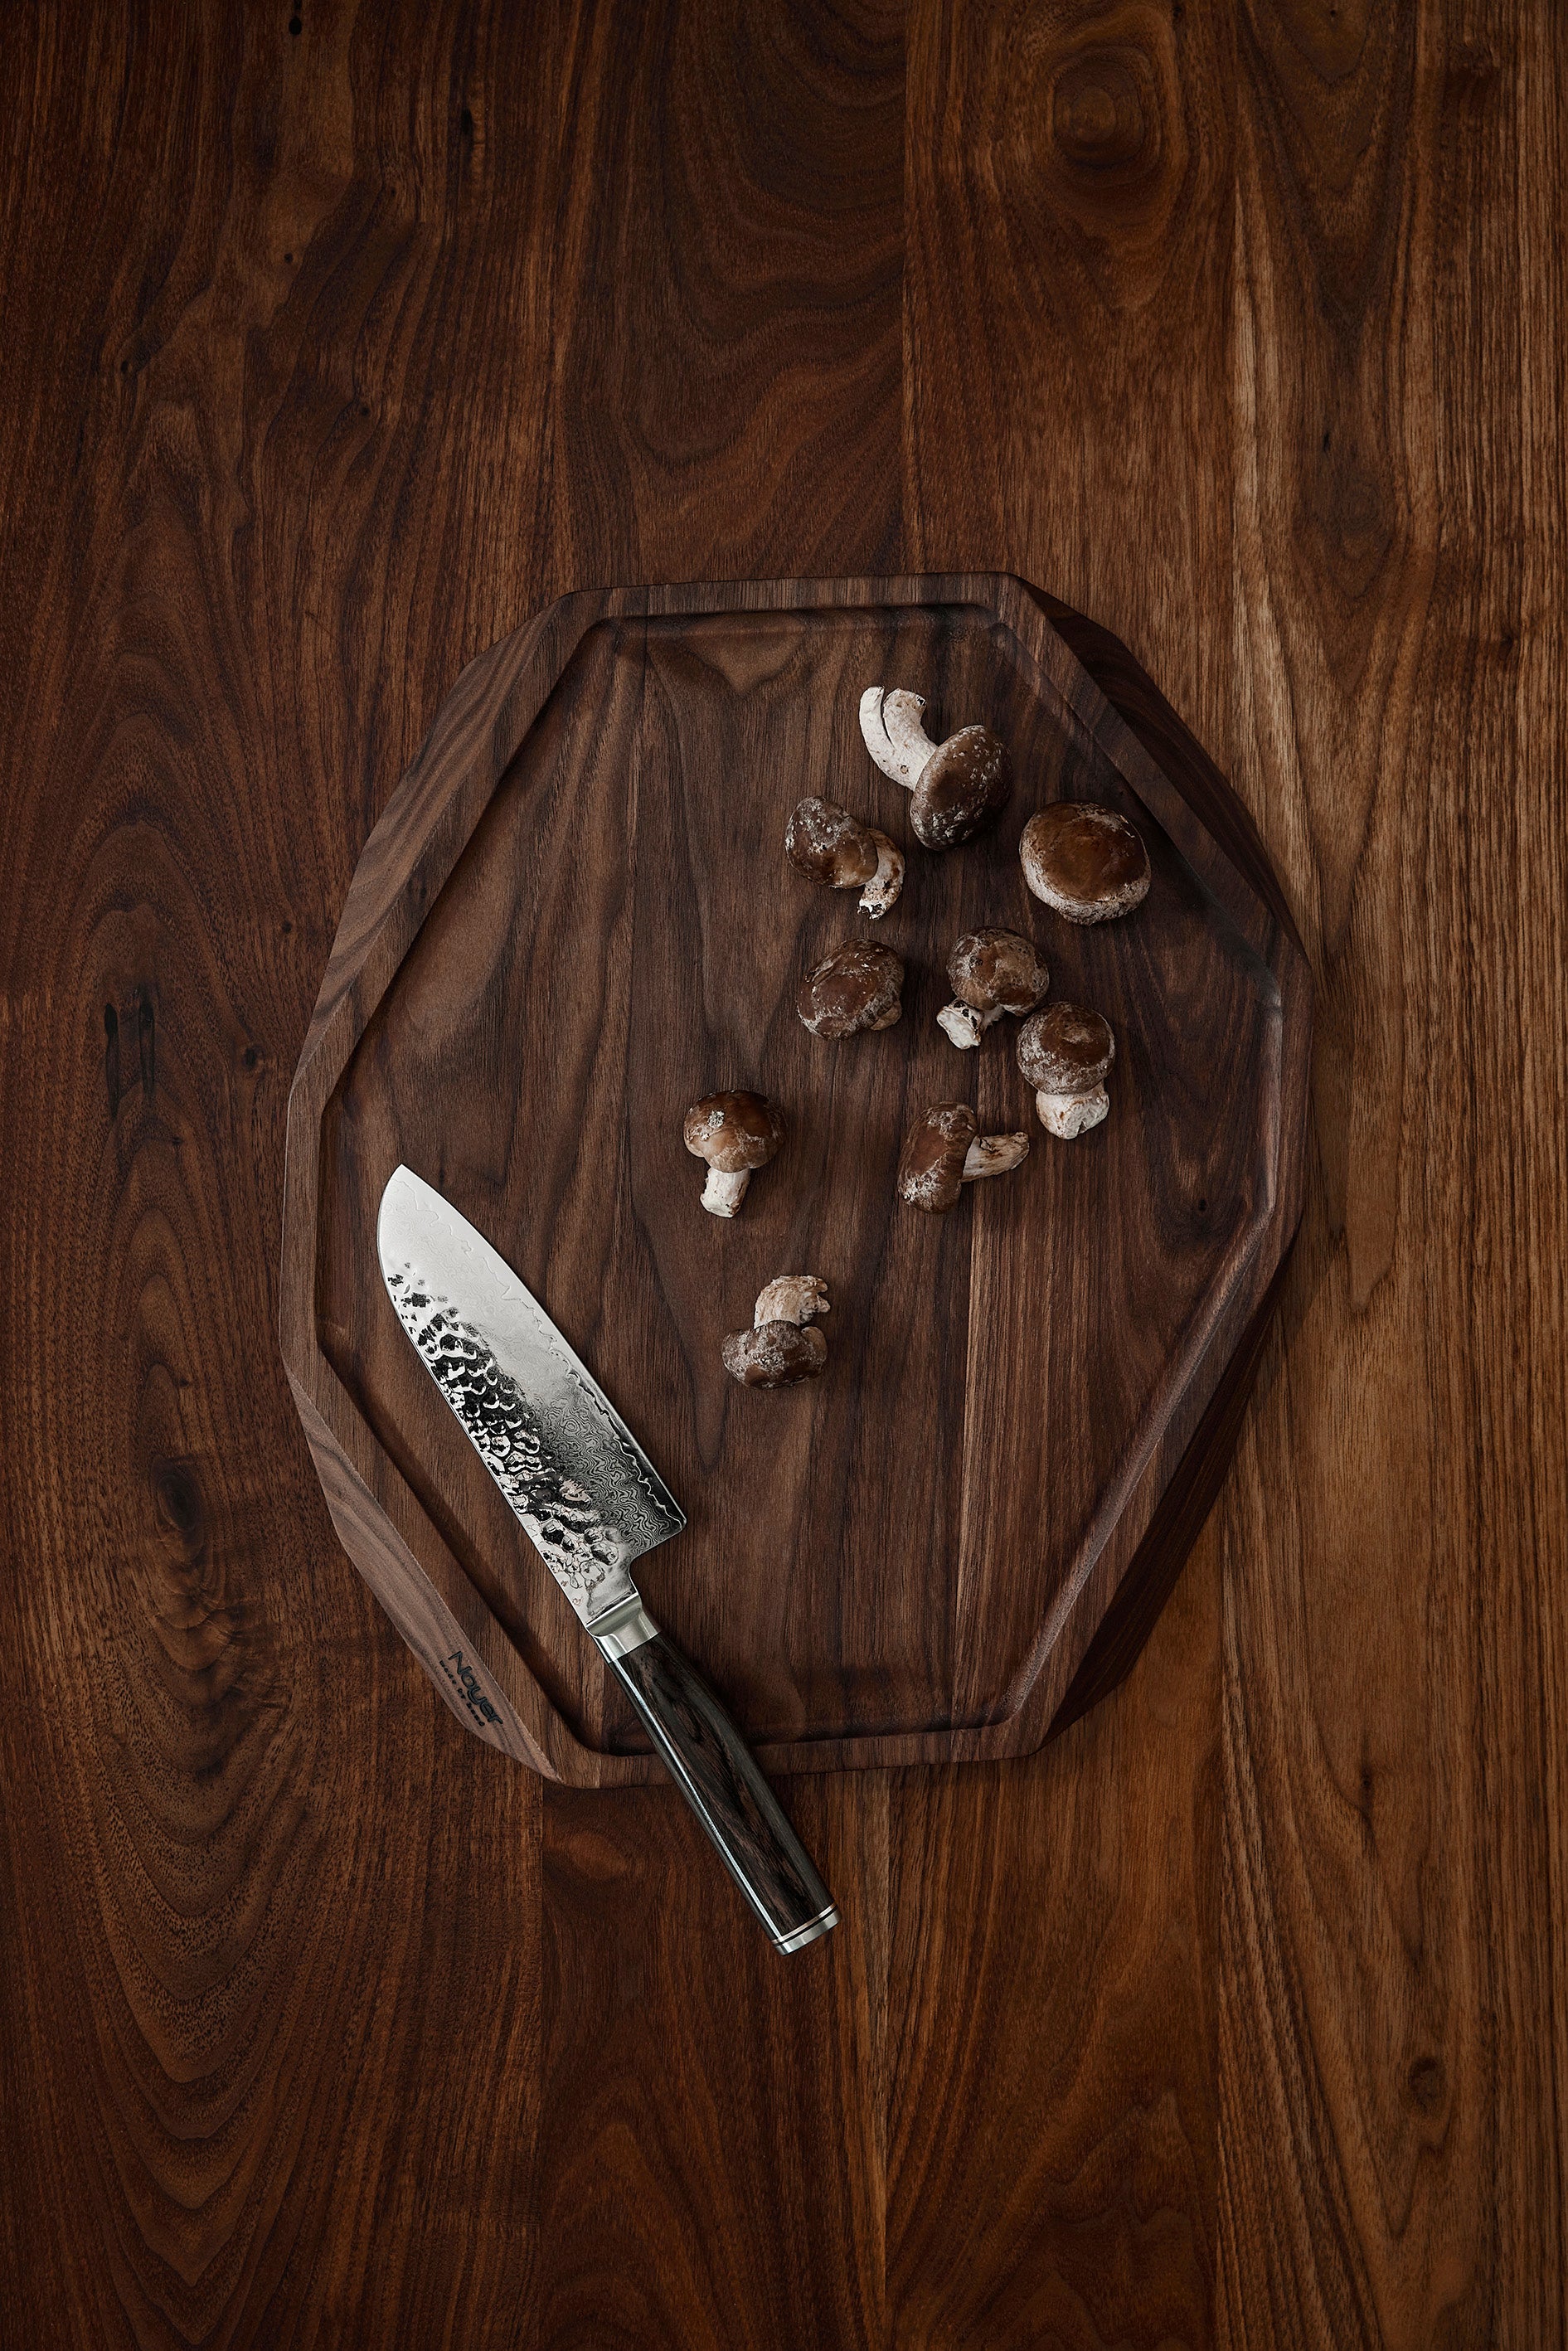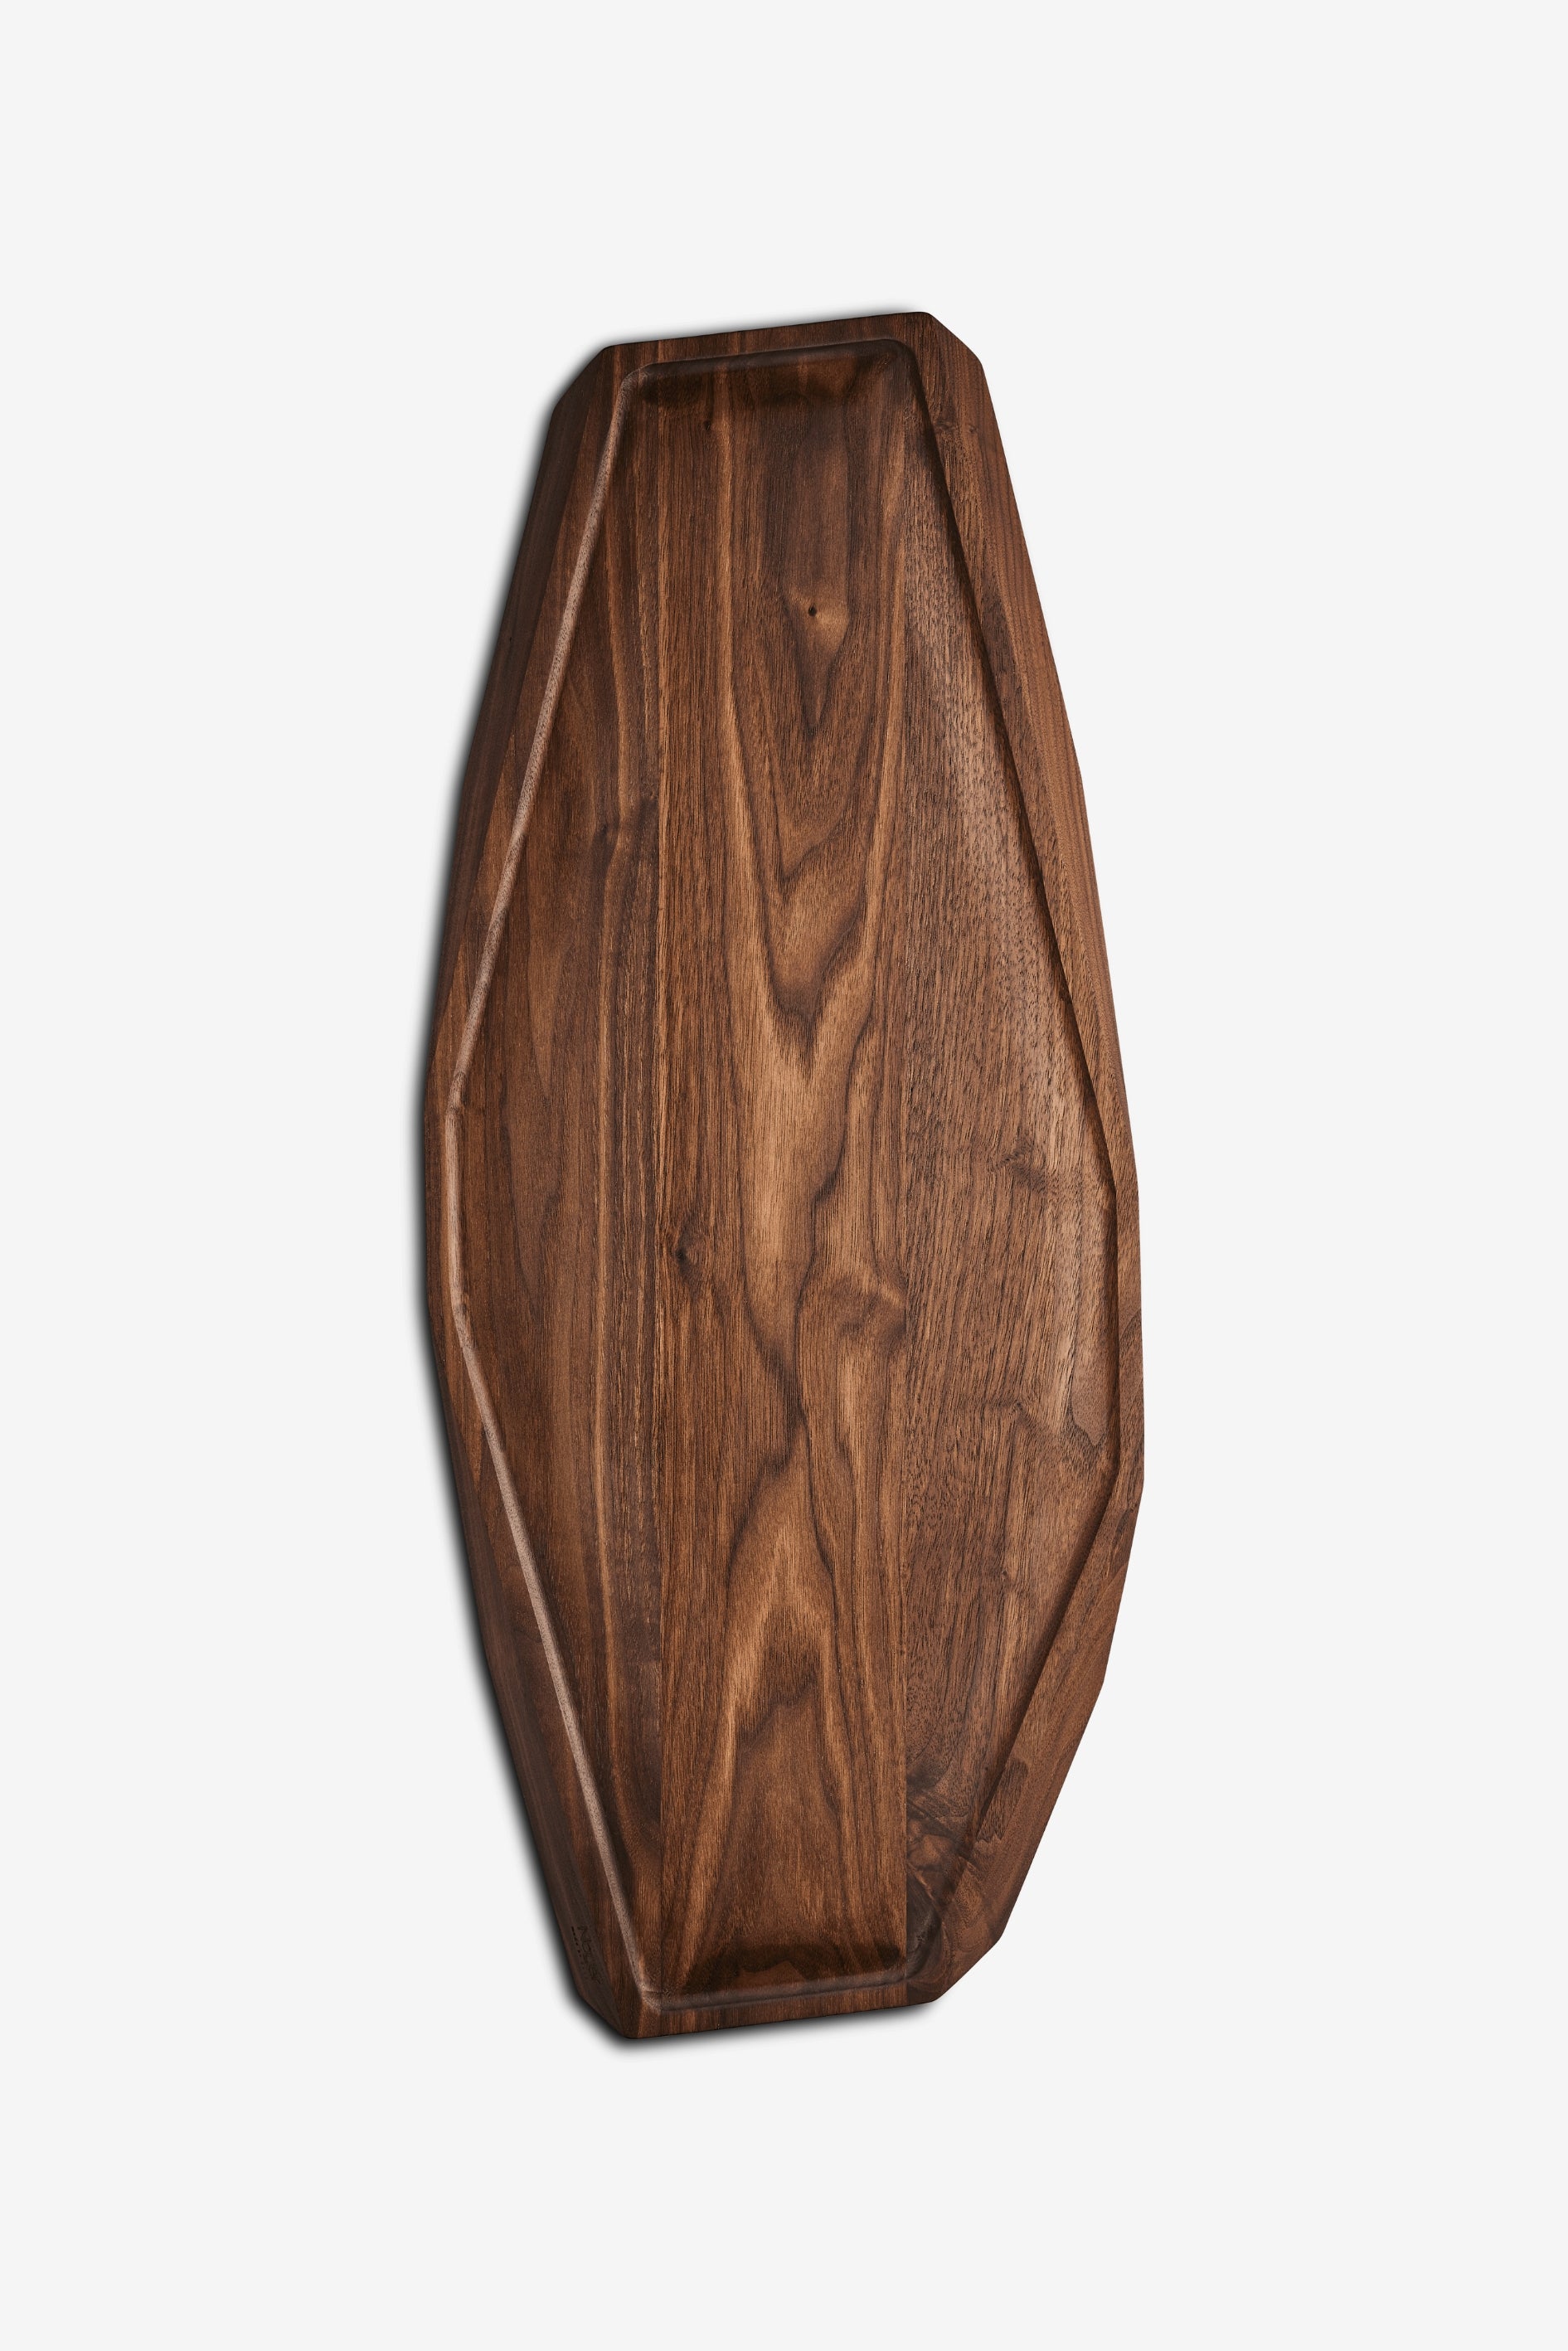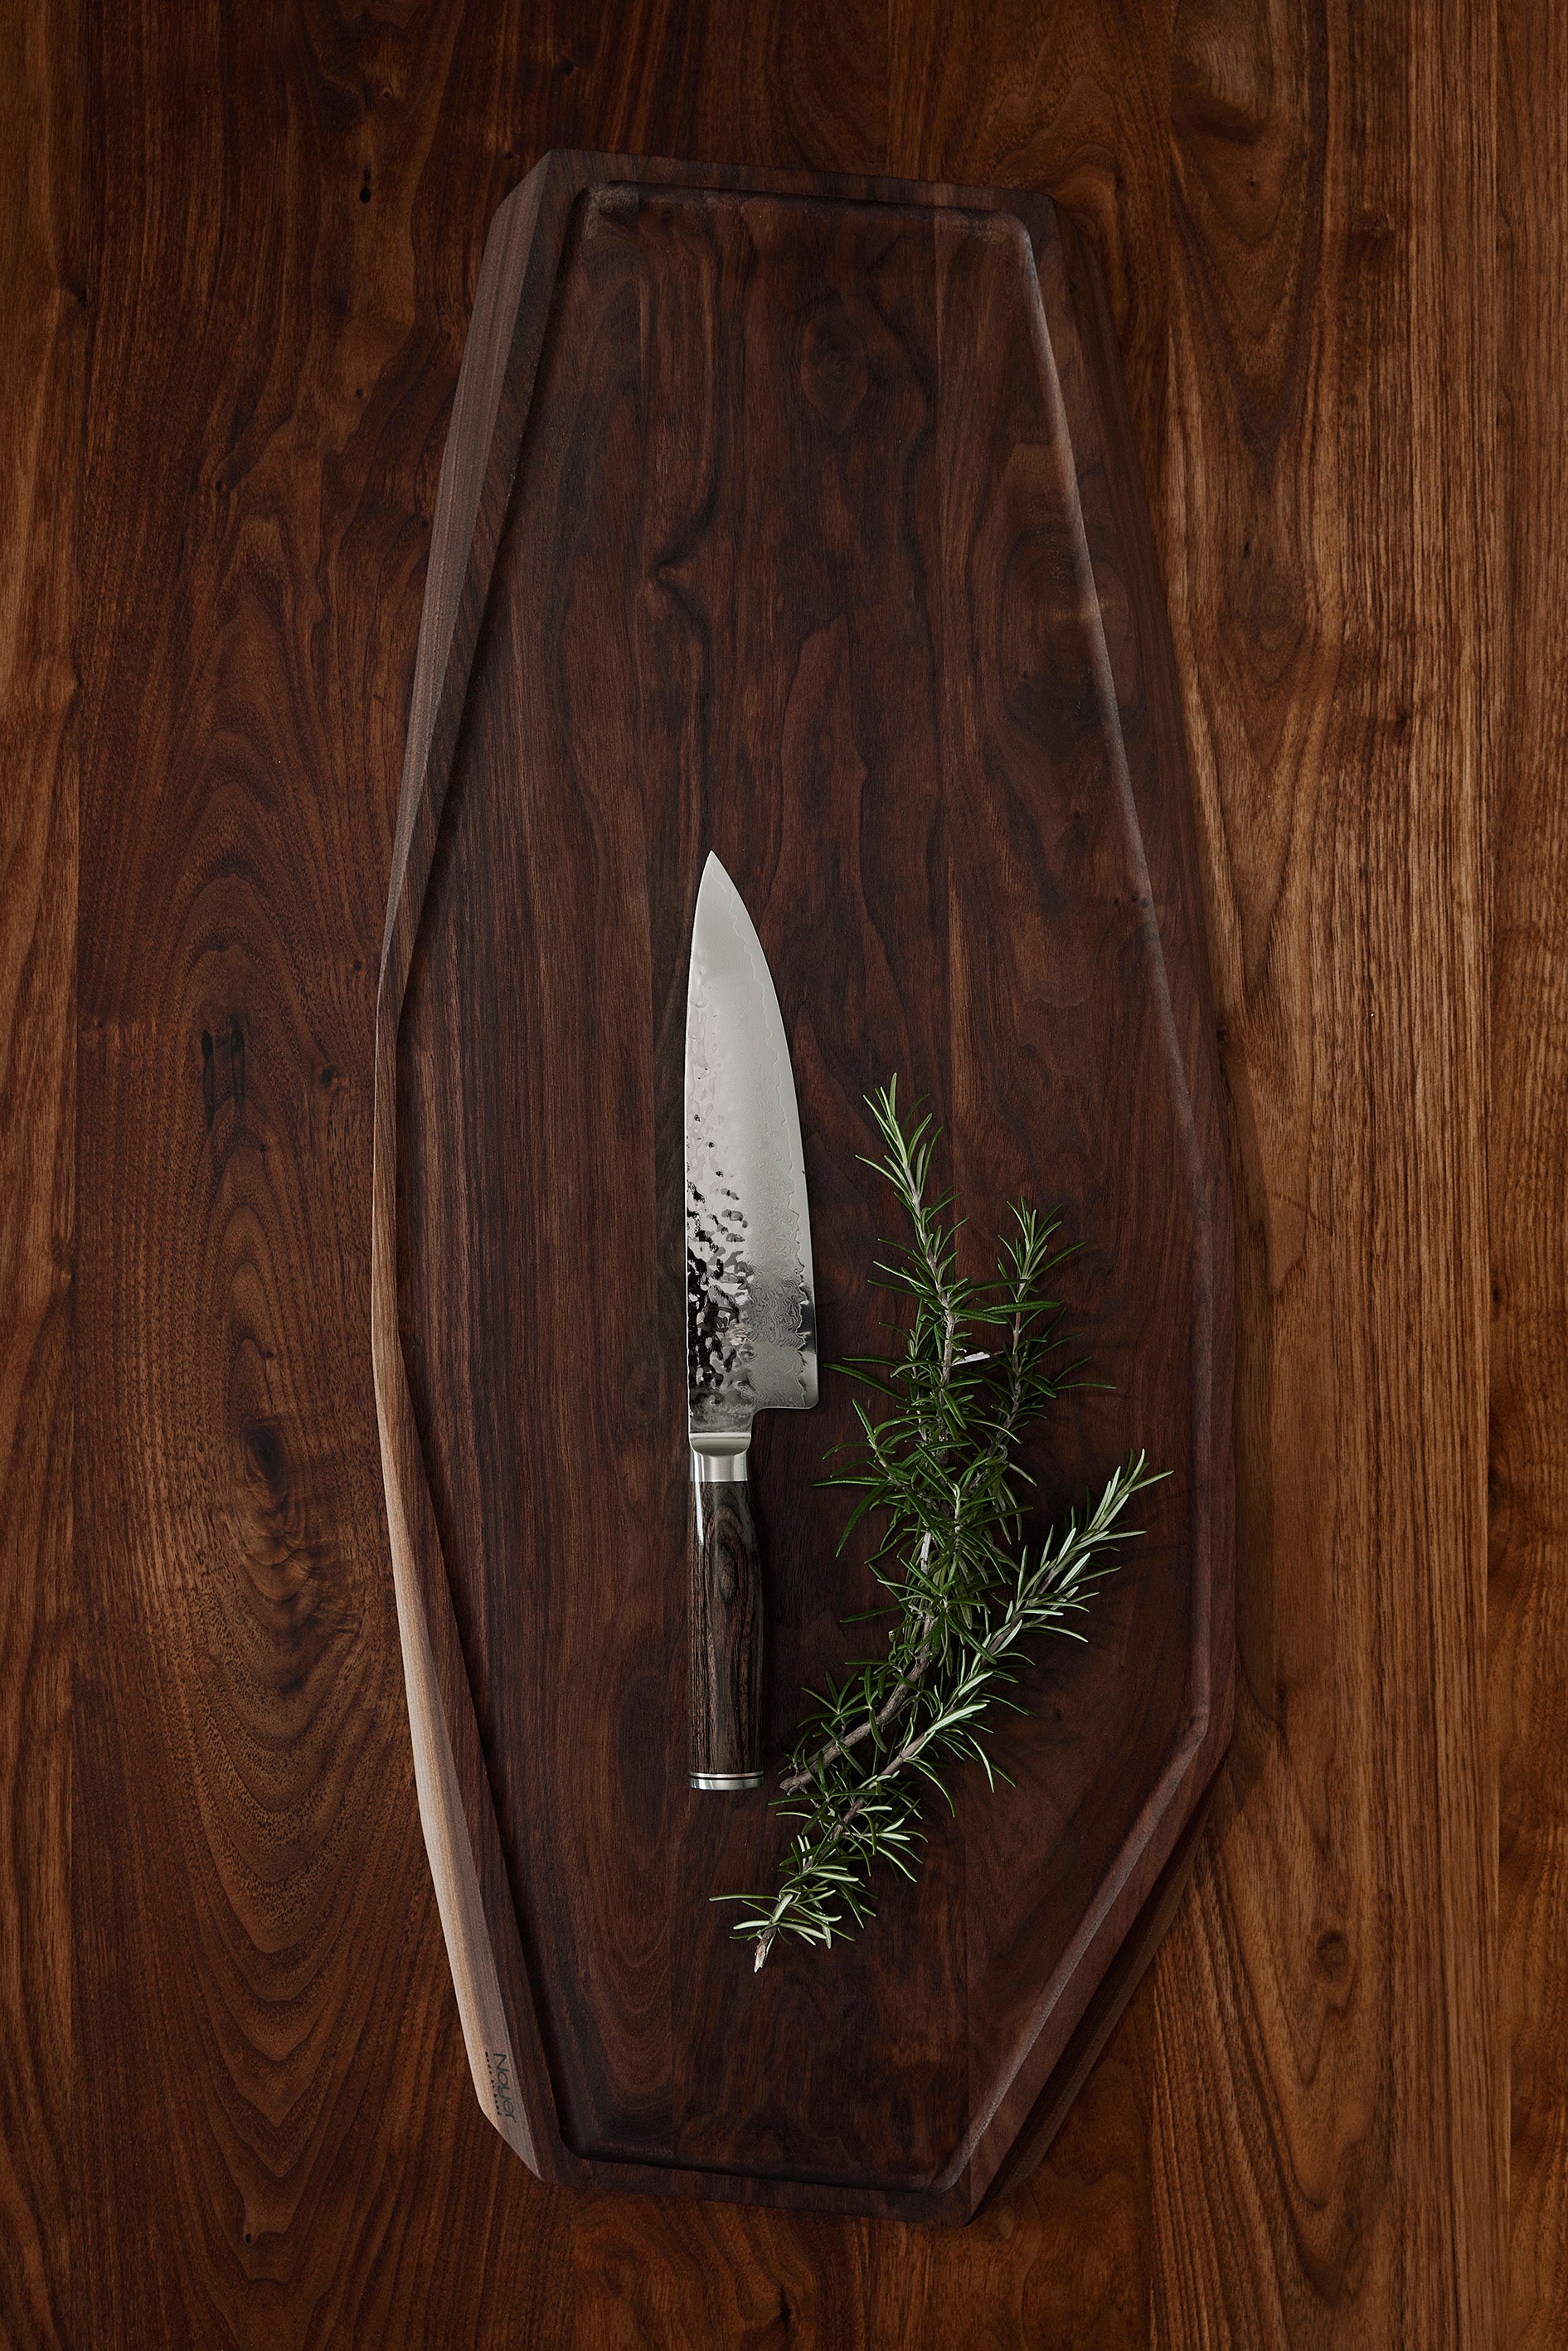
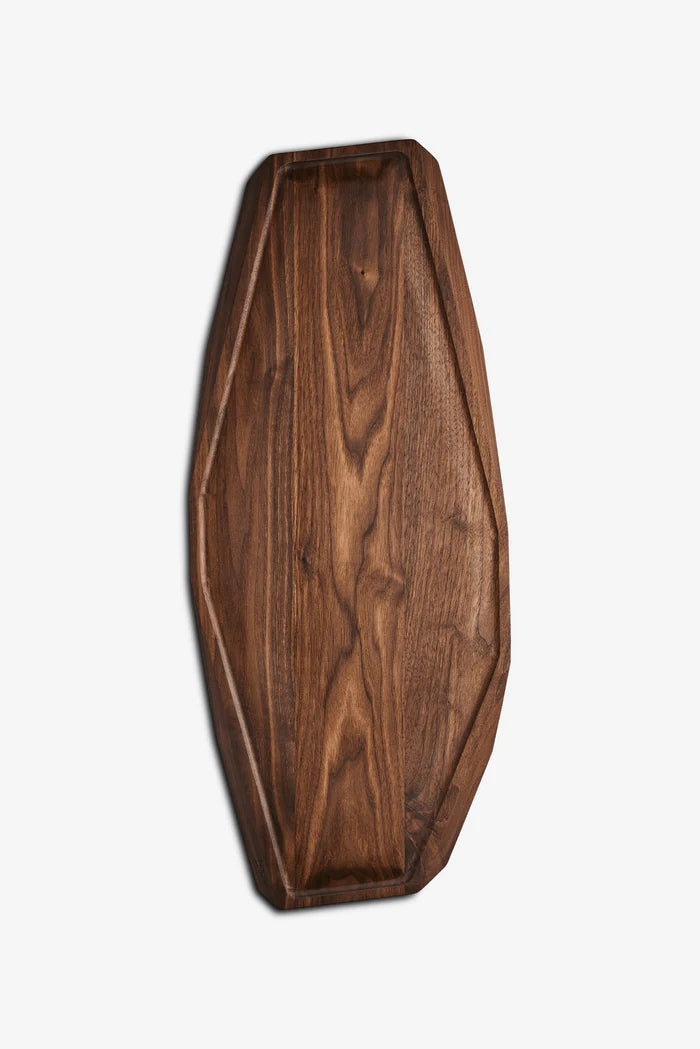
At the heart of every well-functioning kitchen are tools that serve more than a mere practical purpose: they bring a sense of tactile joy and aesthetic calm to the daily ritual of cooking. At Noyer, we view our creations as living objects that, with the right attention, can be passed down through generations. One of the most fundamental acts in this stewardship is understanding how to oil a walnut cutting board. It is the point where craftsmanship meets maintenance, and where the natural resilience of the wood is truly awakened.
When you invest in a Chopping Board in solid walnut, you are choosing a material celebrated for its strength and its deep, warm nuances. However, wood is an organic material that breathes and reacts to its environment. Without regular hydration, the wood will eventually dry out, lose its characteristic glow, and in the worst cases, begin to warp or crack. By using a dedicated food-grade oil, you ensure that the wood remains saturated, supple, and hygienic for years to come.
The Science of Sharpness and Wood Hydration
Many home cooks overlook the direct correlation between the condition of their board and the longevity of their cutlery. A dry, neglected wood surface becomes hard and inflexible, causing unnecessary wear on a knife's delicate edge. When you learn how to oil a walnut cutting board properly, you are creating a surface that is more forgiving. A well-saturated board allows the blade to glide through the fibers rather than colliding with them, ensuring your knives maintain their sharpness for much longer. It is a synergy that any serious culinary enthusiast will appreciate during their daily prep work.
Beyond the protection of your tools, hygiene plays a central role in wood care. A well-maintained Chopping Board with Juice Groove that has been deeply seasoned prevents liquids from meat and vegetables from penetrating deep into the wood fibers. The oil acts as a natural barrier, sealing the wood and making it significantly harder for bacteria to find a foothold. This is not merely about aesthetics: it is about creating a safe, clean environment for your ingredients.
When the wood is fully saturated, you will also find it much easier to clean. Water and mild soap will bead on the surface rather than being absorbed, which minimizes the risk of the board bowing or splitting due to moisture fluctuations. This is particularly vital for larger pieces like our Carving board, where the expansive surface area requires uniform saturation to remain flat and stable on your countertop.
A Ritual of Care: How to Oil a Walnut Cutting Board Step-by-Step
Applying oil to your board is a meditative process, a moment to slow down and appreciate the value of fine craftsmanship. It is a routine that should be repeated as soon as the wood begins to look dull, grey, or thirsty. Here is our recommended approach to achieving the best results and bringing out the natural luster of the walnut:
1. Preparation and Cleaning
Before you apply any finish, the board must be completely clean and dry. Wash it gently with warm water and a mild soap. Always avoid the dishwasher, as the extreme heat and aggressive chemicals will destroy the wood structure instantly. Let the board dry completely, ideally standing on its edge so air can circulate around both sides. This ensures no moisture is trapped when you seal the surface with oil.
2. Applying the Oil
Once the board is bone dry, apply a generous amount of food-grade mineral oil or a specialized wood conditioner. Use a clean, lint-free cloth or a paper towel to distribute the oil in circular motions. It is essential to cover every surface: the top, the bottom, and especially the characteristic angled edges that define Noyer’s design. If you are working with a board that features a juice groove, ensure the oil reaches into the deepest parts of the milled channel.
3. The Absorption Phase
This is perhaps the most important step in the process. Let the board rest and absorb the oil for at least a few hours, though overnight is preferable. You will witness the walnut wood drinking in the oil, transitioning from a pale, dry tone to a deep, vibrant glow. If the wood absorbs the oil very quickly, it is a sign that it was significantly dehydrated, and you should consider applying a second layer.
4. Wiping Away the Excess
After the resting period, wipe away any excess oil with a clean cloth. The board should feel saturated and smooth, but not greasy to the touch. Your tool is now ready for use again, protected and more beautiful than before. For a more detailed look at general wood care, you can visit our dedicated page on Care and Maintenance.
Choosing the Right Finish: Food-Grade Safety and Longevity
When selecting a product for your kitchenware, it is crucial to choose an oil specifically suited for food contact. A common mistake is using standard culinary oils like olive or canola oil. While these are safe to eat, they are unsuitable for wood care because they will eventually go rancid. This leads to unpleasant odors and flavors that can transfer to your food, compromising the quality of your meals.
We recommend a food-grade mineral oil or a specially developed wood oil based on natural ingredients that do not oxidize. A high-quality oil should be odorless, tasteless, and have a viscosity that allows it to penetrate deep into the pores of the walnut. At Noyer, we often use cold-pressed linseed oil in our production because it is a natural oil that hardens slightly to provide a fantastic finish, but for ongoing home maintenance, a neutral, non-hardening mineral oil is often the most practical choice for most users.
Always read the label on your care products. It should clearly state that it is approved for surfaces in contact with food. This ensures you can prepare everything from fresh greens to succulent roasts on your chopping boards without any health concerns.
The Soul of Walnut: Preserving Unique Character
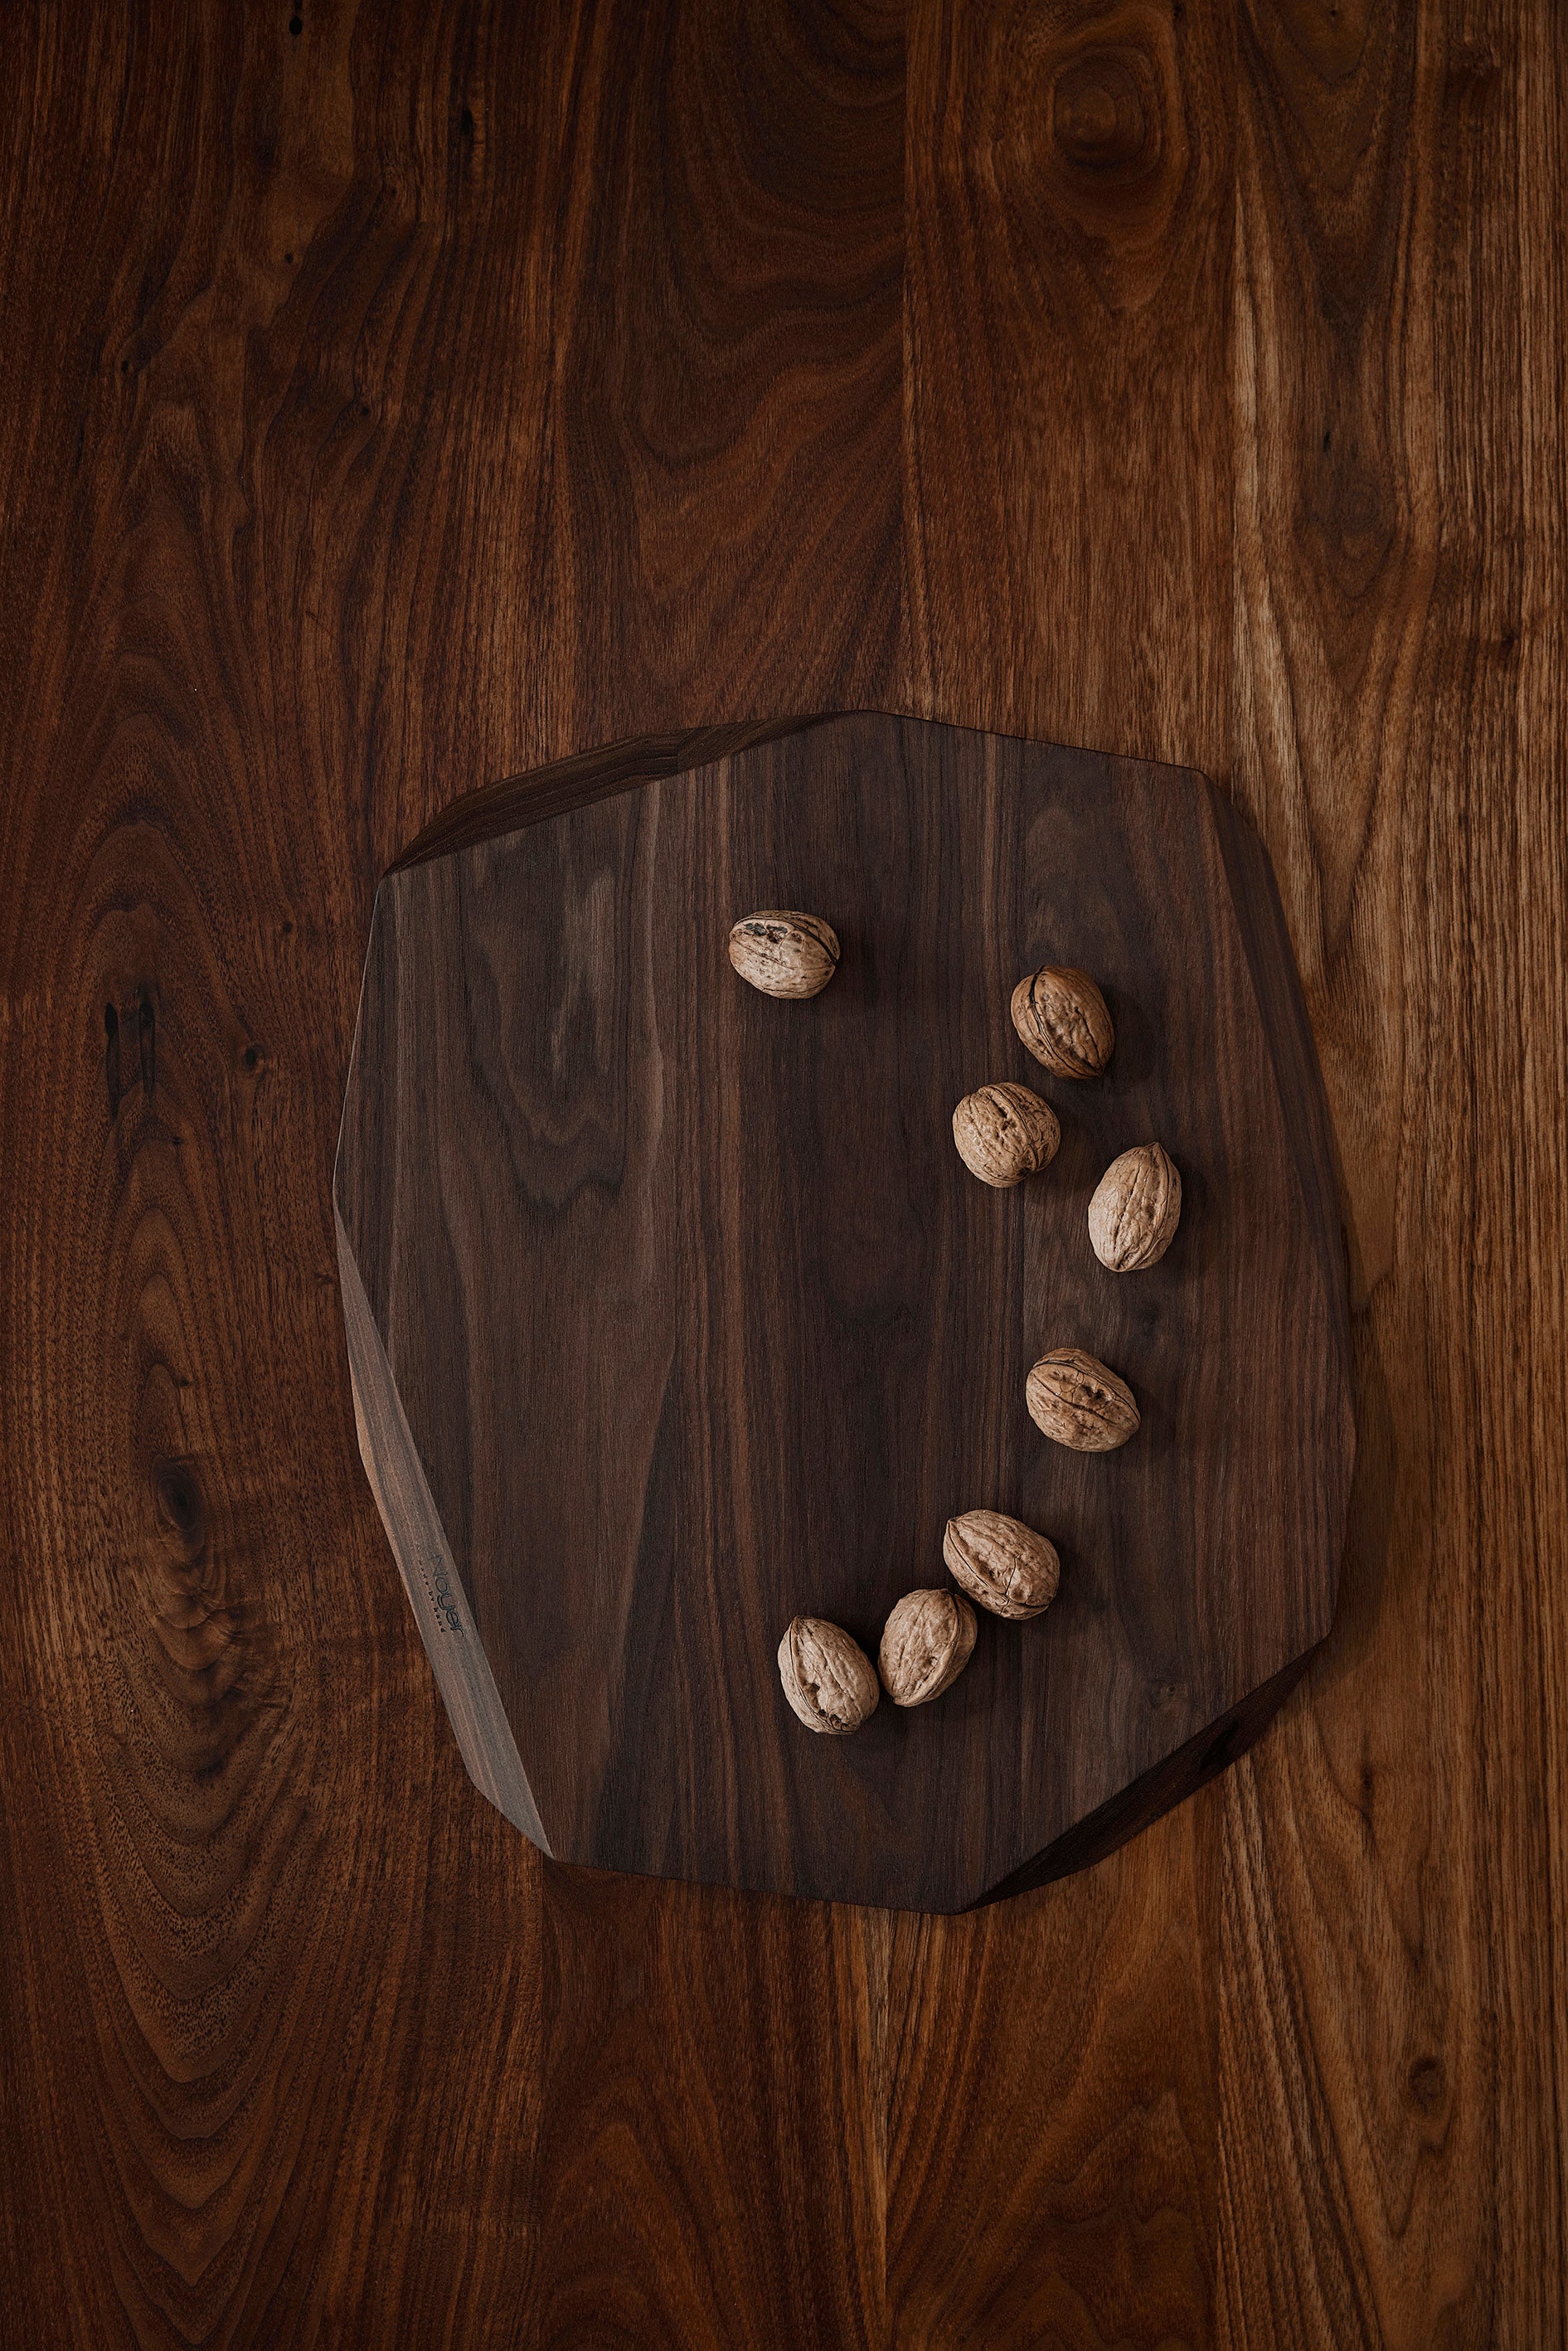
Walnut is a singular material. It possesses a natural elegance and a variation in grain patterns that makes every single product from our Valby workshop unique. When you apply oil, you are not just protecting the wood: you are highlighting these intricate details. The oil acts almost like a developer on a photograph; the hidden nuances of the timber emerge, and the board gains the visual depth that is Noyer's signature.
Our design process always begins with the structure of the individual piece of wood. The sharp, asymmetrical angles of our boards are created to provide a modern counterpoint to the wood's organic warmth. By maintaining these surfaces with oil, you preserve the architectural expression that makes the board more than a kitchen utensil: it becomes a piece of functional art. Whether it is resting on your counter or hanging from one of our Magnetic knife racks, a well-oiled board remains a focal point of the room.
Regular care is an investment in durability. A well-maintained board will, over time, develop a beautiful patina that tells the story of the many meals it has helped create. This slow beauty is what we strive for at Noyer. By taking the time to hydrate the wood, you are honoring both the material and the craftsmanship behind it. Caring for your belongings is a value that extends beyond the practical: it is about appreciating quality and understanding that the best things in life often require a little attention to remain beautiful. We hope this guide inspires you to make maintenance a regular part of your kitchen routine. If you have further questions about our materials, feel free to explore our FAQ or contact us directly.